

Hi there learners, Welcome to a different tutorial on MATLAB. Within the earlier tutorial, we discovered so much about MATLAB’s command window, noticed some thrilling instructions associated to the system, and located steering from the pre-defined knowledge. On this lecture, you’ll study an important deal in regards to the different two forms of home windows we outlined within the earlier classes. Let me talk about the factors that will likely be mentioned at present.
What’s a Determine window?
Tips on how to get began with the determine window?
How are you going to change the background color of the determine window?
What are some features of the determine window?
Give a short introduction to the editor window.
What’s the dwell script?
Tips on how to run code on the dwell script?
What’s the distinction between the run all and run part choices in MATLAB?
We will talk about all these questions throughout our session you’re going to study a variety of issues as a result of we now have exact and attention-grabbing knowledge on your studying and apply associated to MALTAB.
Determine Window
MATLAB supplies us with numerous functionalities associated to the mathematical operations and dealing of various theorems in one of the best ways. When speaking about graphics, we come to know that they supply the right strategy to facilitate the consumer in one of the best ways. So, it supplies the consumer with a high-quality graphic window that exhibits the outcomes of various calculations in a pictorial manner. This will likely be clear once you see the implementation of various instructions whereas designing your individual determine window within the command immediate.
Getting Began with the Determine Window
It’s superb to know which you can simply label your individual determine window in response to your job by utilizing some easy instructions. So, take a look on the following steps:
Open your MATLAB software program.
Go to the command window.
The syntax for creating a brand new determine window is as follows:
determine (‘Identify’, ‘Worth’)
The place the key phrase “Identify” tells MATLAB that you simply wish to title your determine window in response to your will, and the worth exhibits the worth that you simply wish to retailer rather than the window’s title.
Now, write the next command there.
determine (‘Identify’, ‘My Determine Window’)
You’ll observe that it’ll create a sq. window that’s labelled along with your required title, and it’ll seem immediately once you end your command and press enter.
Making The Graph in Your Determine WIndow
As we now have been discussing because the starting, the determine window has made the illustration of various graphs tremendous simple. You simply must put within the values and the graph with the correct values will seem on the display screen. If you wish to achieve this, try the next manner:
Go to your Command window and supply the values of the bar to MATLAB. In our case, we’re storing these values in a variable named “Y”. Look at that each one the values are saved in a sq. bracket.
Y = [1,44,66,8,33,89,34,4,22]
Within the subsequent line, it’s a must to write the perform of the window’s formation. Write the subsequent line in your code. We’re making a brand new window as a result of we wished to show you one other factor associated to the determine window. Write the subsequent line in your code.
determine (‘Identify’, ‘My Determine Window’, ‘NumberTitle’, ‘off’)
With the assistance of this command, MATLAB will certainly create a window for you not solely with the identical title but in addition with none extra title apart from your written assertion, as we now have noticed within the earlier case (title with the determine quantity). It looks as if an odd characteristic of the determine window, however more often than not, you aren’t going to make use of these choices.
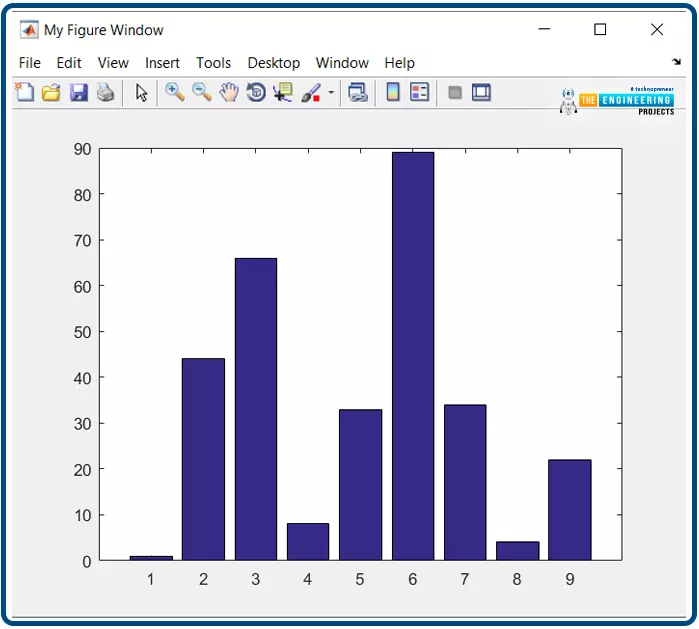
Ultimately, we’re utilizing the pre-defined perform of MATLAB named bar that creates the bar graph of the values saved in your variable Y.
bar (Y)
You will notice, a pleasant and attention-grabbing determine window with all the info that was fed by you.
Background Colours in Determine WIndow
Throughout this dialogue, once I mentioned that you’re additionally going to design your individual window, I meant which you can change the background colors and the info of the determine window made by you. If you wish to achieve this, then you definately simply must make little adjustments within the command for the formation of your window.
determine (‘Identify’, ‘My Determine Window’, ‘NumberTitle’, ‘off’, ‘Shade’, ‘r’);
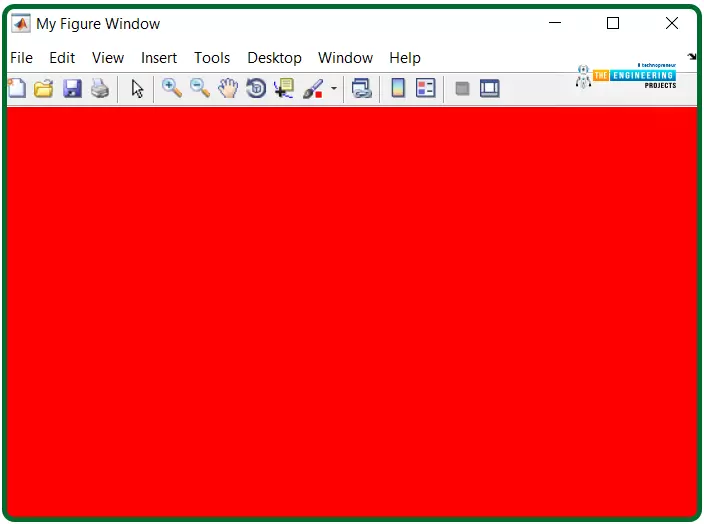
Right here, the color perform is laid out in crimson by utilizing the key phrase “r”. There are completely different key phrases for various colors. Test the identical command by utilizing ‘b’ as an alternative of ‘r’ and you’ll get the blue display screen.
Features in Determine Window
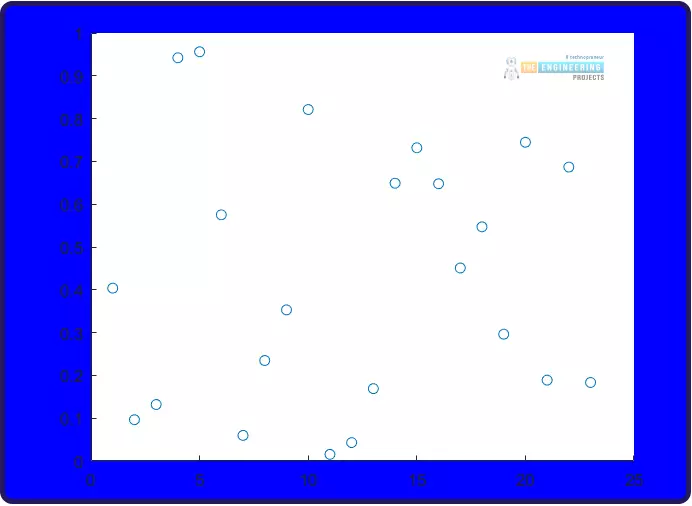
Let me inform you one other command via which you’ll get some factors scattered on the display screen with the blue background. Simply write the next command on the command immediate.
determine (‘Identify’, ‘My Determine Window’, ‘NumberTitle’, ‘off’, ‘Shade’, ‘b’)scatter((1:23),(rand(1,23));
Right here we now have used two completely different features which may be new to you.
The scatter perform offers the MATLAB some values, say x and y, the place x exhibits the start line and y exhibits the ending level, in between which the gap between the factors proven within the determine is taken by MATLAB.
Alternatively, the random perform chooses one of many random numbers between the bounds offered by us. After that, it exhibits the variety of dots accordingly. Each of those are vital features, and one factor that have to be stored in thoughts is that the bounds of each these features have to be equal. In any other case, MATLAB will make the error that the dimension of those features have to be the identical. You’ll be able to choose any quantity for these limits.
Editor Window in MATLAB
The MATLAB editor is a incredible window as a result of a lot of the instructions and features which can be associated to completely different features are accomplished with the assistance of pre-defined instructions and features. We mentioned the essential introduction of the editor window in our earlier lecture. This time, we’re discussing it deeply. MATLAB supplies two variations of the editor window:
Editor Window
Stay Editor
To make use of the editor window, merely observe the steps that we’re specifying right here:
Open your MATLAB software program.
Go to the command window.
Write “Edit” within the command window.
It’ll open a brand new display screen the place you may create a number of home windows, and the display screen now seems to be like this:
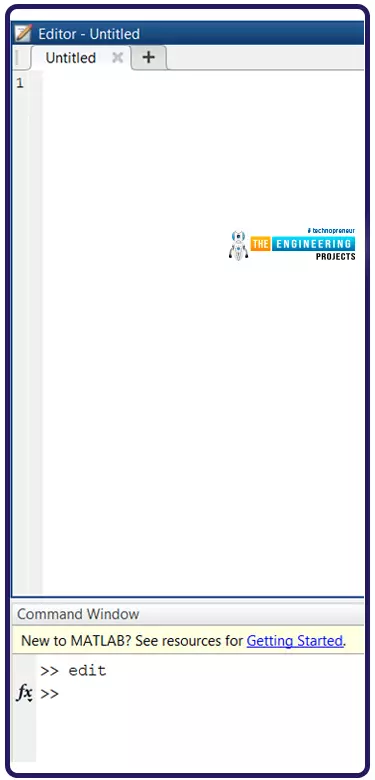
As quickly as you attempt to run this file, a window will seem that may require the data of the file the place this code will likely be saved in your MATLAB folder. So, I recommend naming it significant in order that any time you want the code, you merely click on on the saved file, and your saved code will likely be proven as anticipated.
The command window now lies beneath the editor window, and you should utilize it for a number of operations. The editor window can also be known as the script window, and at this level, we wish to work on the opposite kind of editor, which is the dwell window.

Let’s begin by writing the code on this window.
For now, I’m going to indicate you the results of some coding and, hopefully, you’ll find it irresistible.
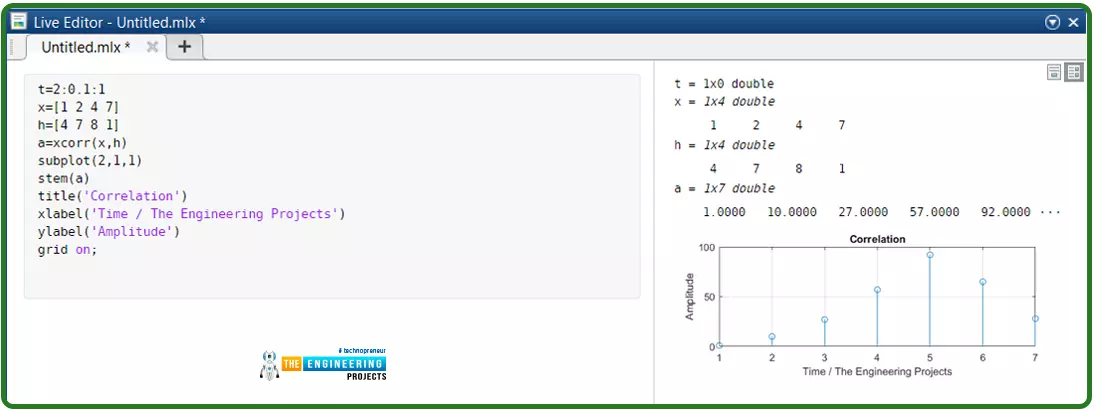
Copy this code from right here and paste it into the editor window.
For the compilation of this code, t=2:0.1:1
x=[1 2 4 7]
h=[4 7 8 1]
a=xcorr(x,h)
subplot(2,1,1)
stem(a)
title(‘Correlation’)
xlabel(‘Time / The Engineering Tasks’)
ylabel(‘Amplitude’)
grid on;
So, you’ll get the outcome as proven within the image.
For now, I’m not going to elaborate on the code and the ideas, however for now, you simply must get an thought of how the dwell window is used.
The Distinction in MATLAB Editor Home windows
The distinction between these two forms of editor home windows is given beneath:
Editor Window
| Stay WIndow
|
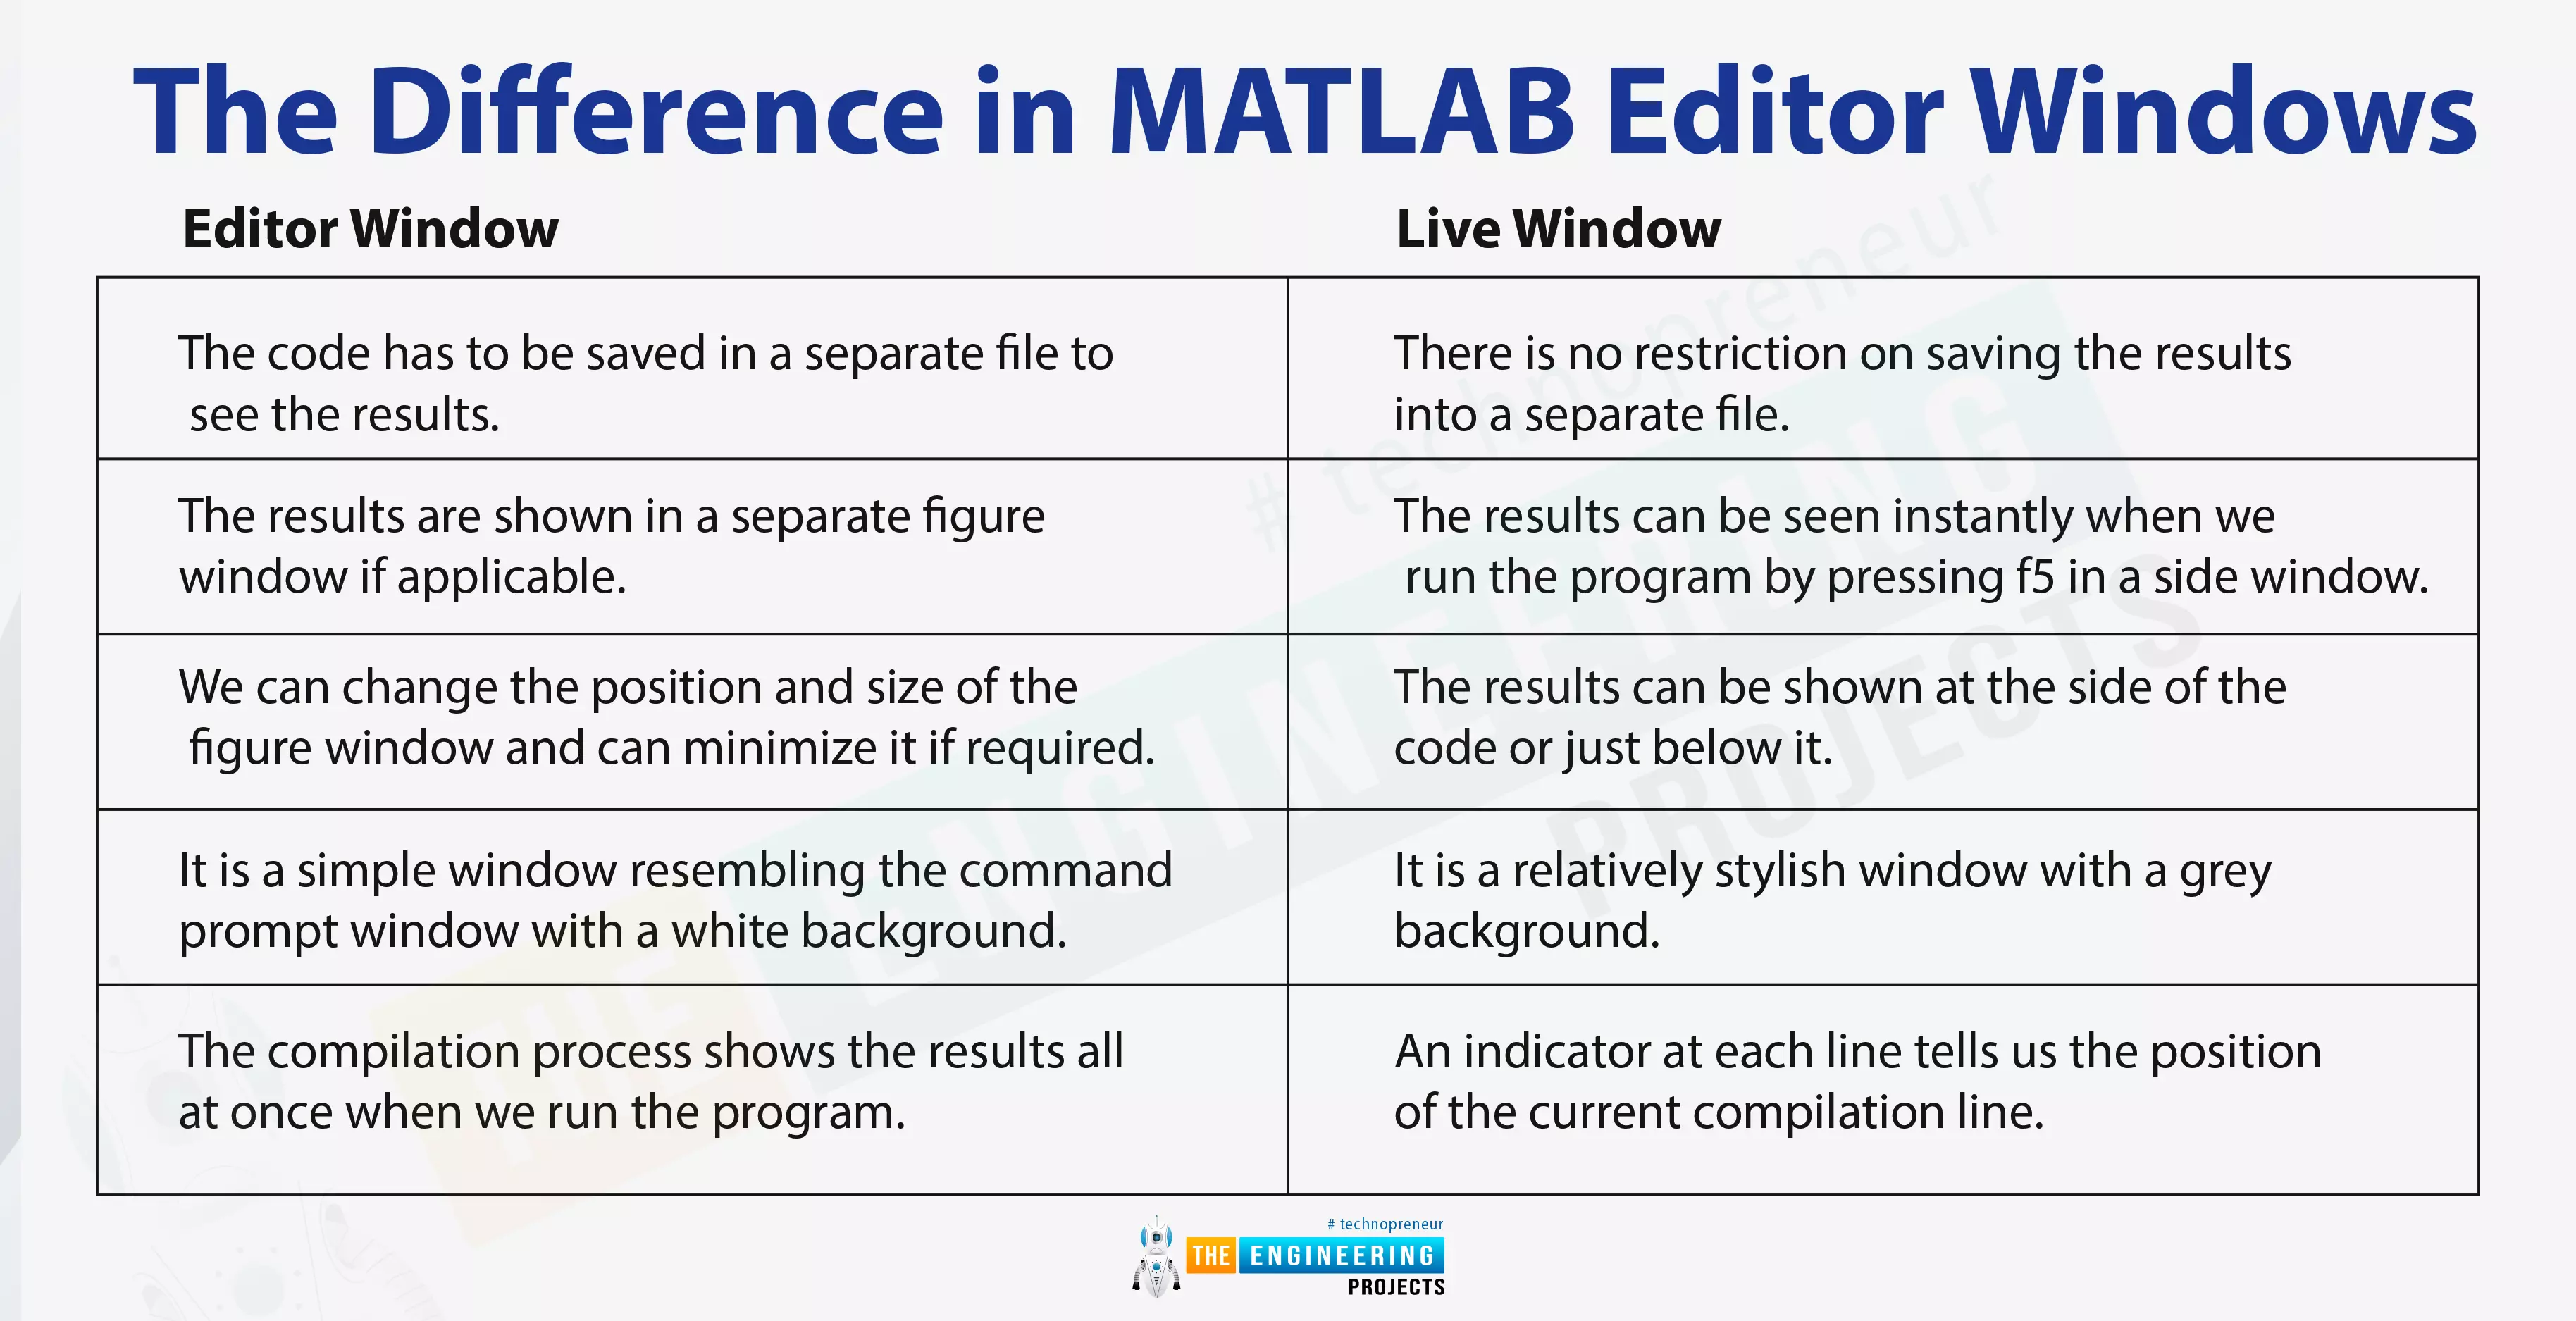
The code must be saved in a separate file to see the outcomes.
| There is no such thing as a restriction on saving the outcomes right into a separate file.
|
The outcomes are proven in a separate determine window if relevant.
| The outcomes may be seen immediately after we run this system by urgent f5 in a facet window.
|
We are able to change the place and measurement of the determine window and might reduce it if required.
| The outcomes may be proven in conjunction with the code or simply beneath it.
|
It’s a easy window resembling the command immediate window with a white background.
| It’s a comparatively fashionable window with a gray background.
|
The compilation course of exhibits the outcomes after we run this system.
| An indicator at every line tells us the place of the present compilation line.
|
Therefore, each of them have the identical kind of labor, however they’re completely different with respect to some options which can be used in response to the talents and necessities of the consumer.
Stay Script Choices in MATLAB
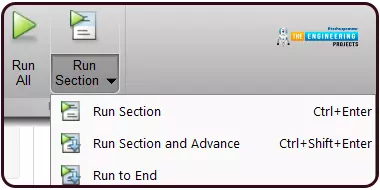
Yow will discover various kinds of operations associated to the dwell editor or easy editor window that you’ll use each time it doesn’t matter what kind of perform it’s performing. These choices seem once you hover over the choices current on the higher facet of the display screen simply above the dwell editor window.

For various operations on MATLAB, you should utilize all these home windows, however for now, our focus is on the dwell editor window. It offers us the independence to make use of the brand new, open and save file choices. You aren’t new to those features, so I’m not going to elaborate, however the issues that have to be clarified listed below are the workings of the run all and run part choices.
These buttons have the identical perform, however the way in which they work is a bit completely different. The “Run all” button clearly runs the code directly, however after we speak in regards to the “Run part” button, it’s someway completely different from the primary case.
Run Part in MATLAB
The “Run Part” button offers us the independence to run the codes in numerous elements. It was designed to present ease to the coder as a result of in a lot of the codes, we now have lengthy and complicated codes, and it appears like a present from the designers as a result of many instances, you have no idea which a part of the code shouldn’t be working or exhibiting the error. So, it turns into tremendous simple to run the code in numerous sections to test the outcomes individually and detect the error.
Therefore, it was an vital lecture the place we discovered attention-grabbing details about the home windows of MATLAB. Have in mind, MATLAB has a big quantity of details about various kinds of features utilized in math, and due to this fact, it supplies sections and completely different home windows for the utilization and dealing of various duties associated to the tutorial {and professional} world in one of the best ways. If we speak in regards to the instructions and features together with all of the options it supplies with the assistance of those manus, then the lecture will grow to be very prolonged. For now, your homework is to test the manus by making use of completely different choices to your code.
MATLAB has superb home windows for its work, and the determine window is likely one of the most vital as a result of it means that you can have the leads to the type of graphs. By the identical token, the editor window is the one that’s used to put in writing code and get the end in alternative ways. Now we have two forms of home windows to put in writing code that known as editor home windows and dwell scripts. Each of them appear alike however have completely different options, and programmers use them in response to their wants.


0 Comments