

[ad_1]

Welcome to the following tutorial of our Raspberry Pi programming course. Our earlier tutorial checked out easy methods to Interface DS18B20 with Raspberry Pi 4. This tutorial will educate us easy methods to create a time-lapse video with nonetheless photos and perceive how phototimer and FFmpeg work.
What’s time-lapse?
When photographing one thing over a prolonged interval, “time-lapse” involves thoughts. A video might be created by mixing the nonetheless pictures. Plant growth could also be tracked with time-lapse motion pictures, as can the altering of the seasons. They may also be utilized as low-resolution safety cameras.
Elements
- Raspberry pi 4B
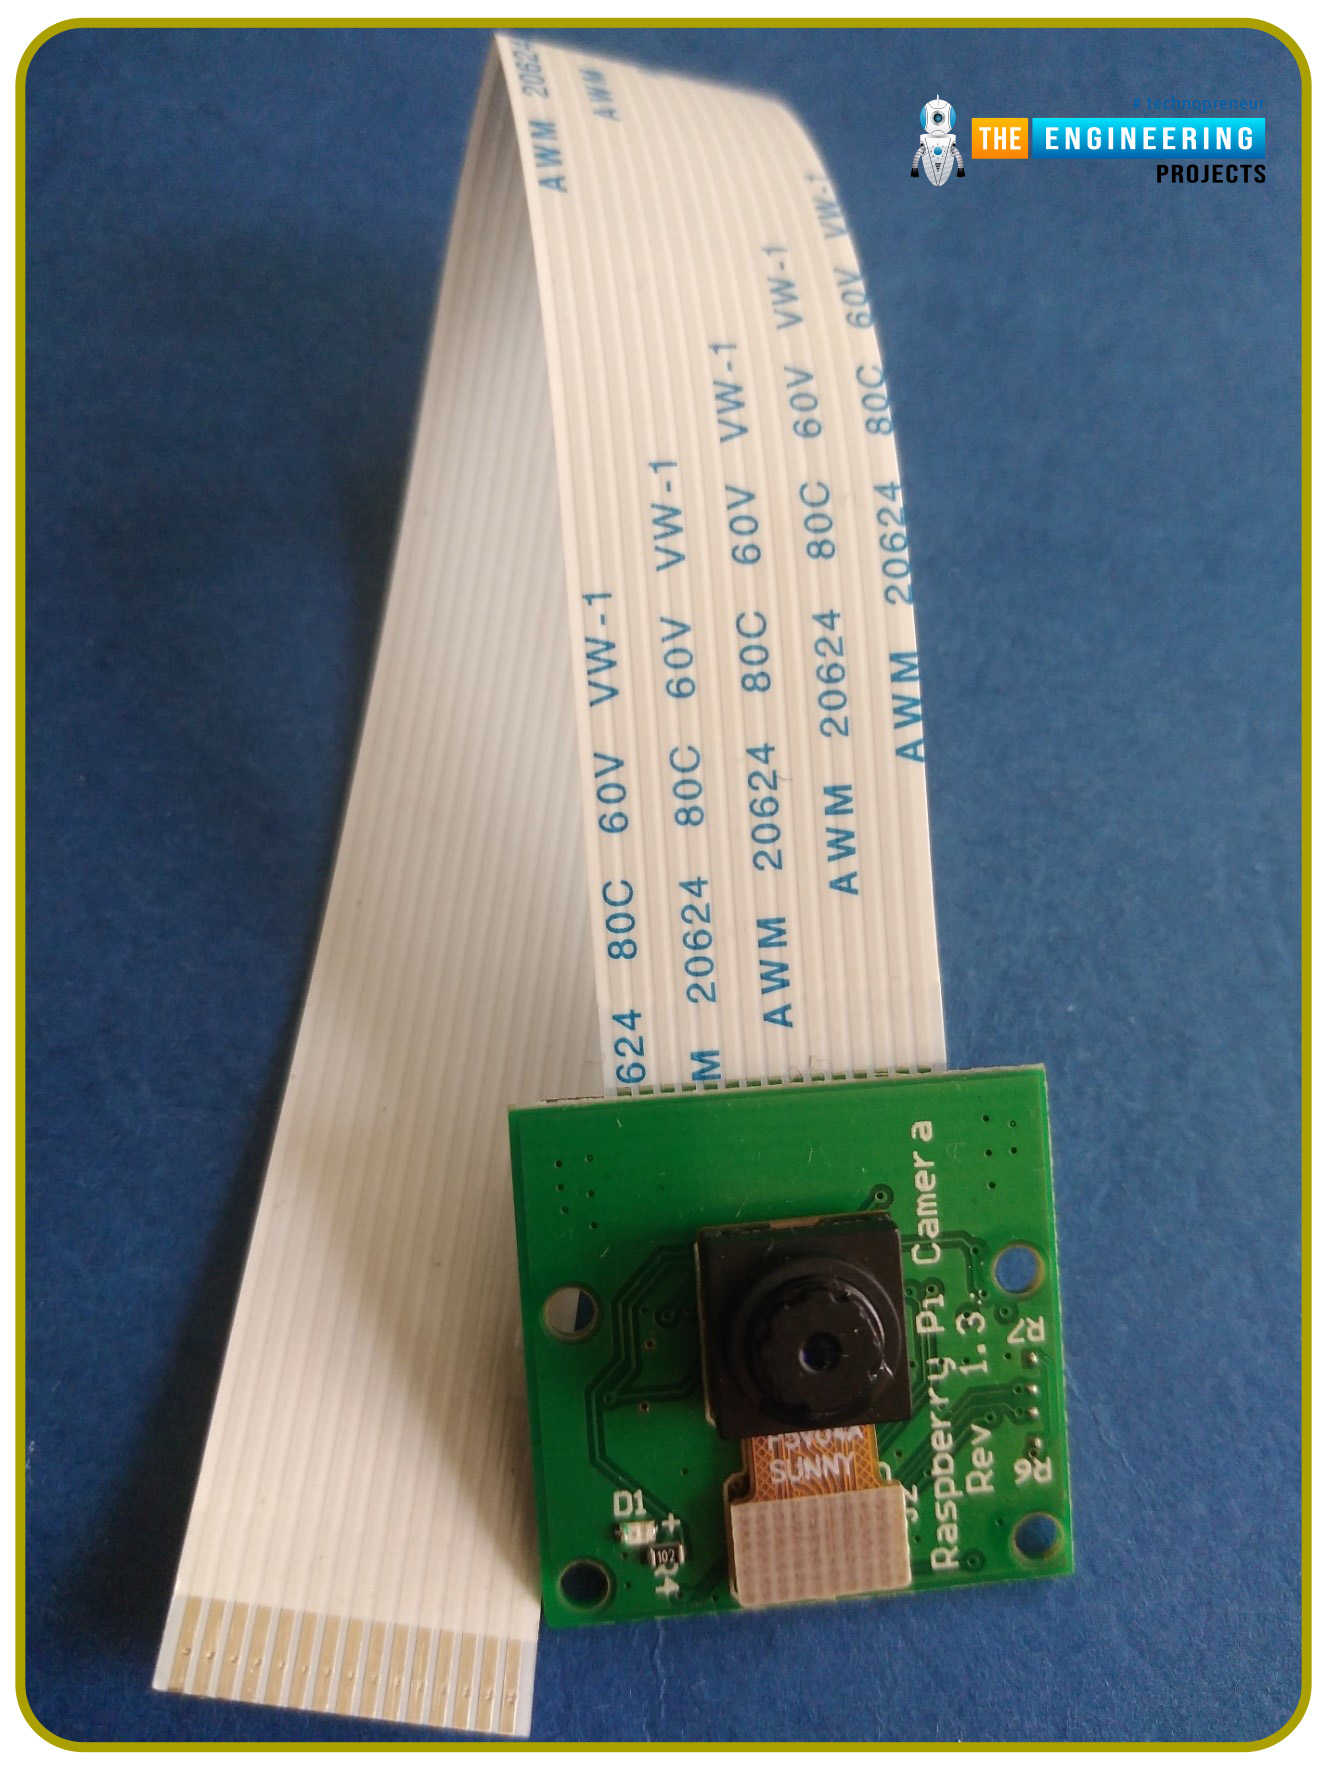
- Pi digicam
Hook up with the Raspberry Pi

Cameras that can be utilized with the Raspberry Pi are a bit restricted. A powered USB hub is required for many webcams which might be suitable. For this put up, we’ll be utilizing a digicam particularly made for the Raspberry Pi. The digicam module might be plugged right into a specified port on the Raspberry Pi. Methods to do it;
Shutting down the pi is beneficial earlier than including a digicam. An influence button must be put in on Pi 4 so that you could be shut down the system safely each time.
- Find the digicam port and elevate the tabs to put in the digicam’s twine.
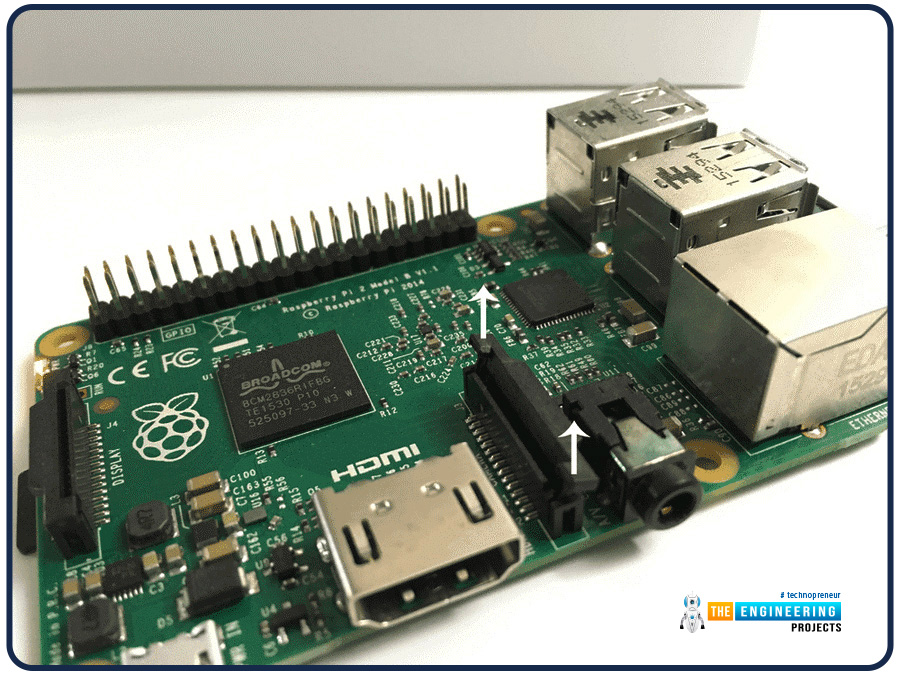
- Safe the tabs on the flex cable after inserting it into the flex cable slot.
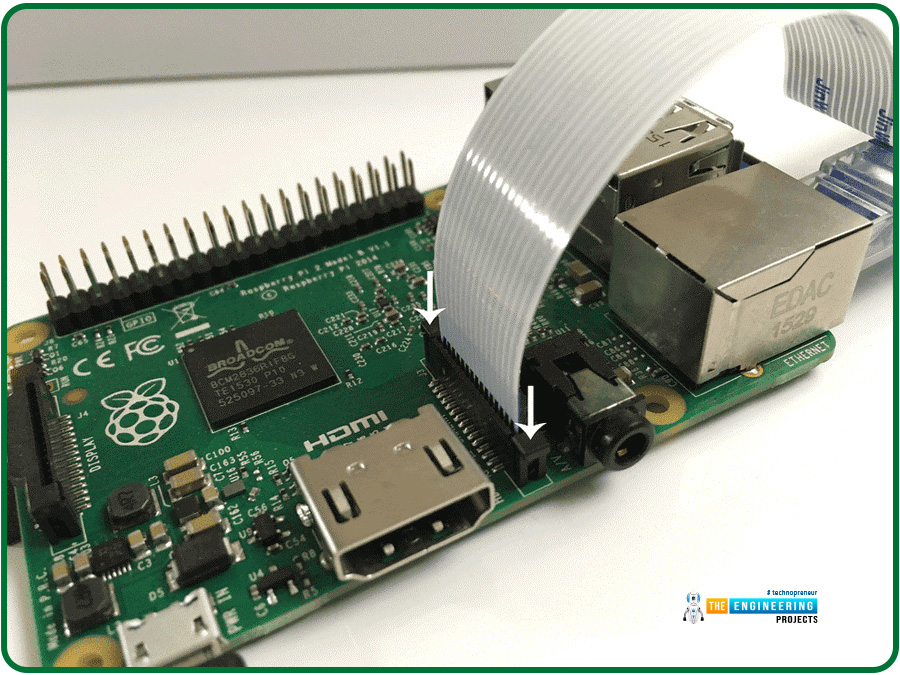
Slide the twine into the port through the use of a picture as a information. Lastly, press down tabs, securing the cable to the motherboard.
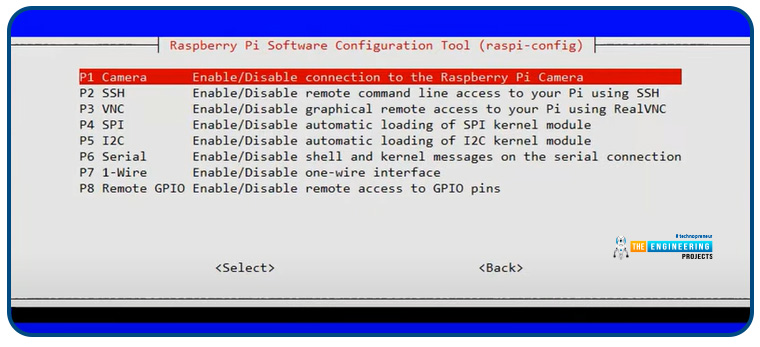
Allow the digicam in Raspberry Pi OS
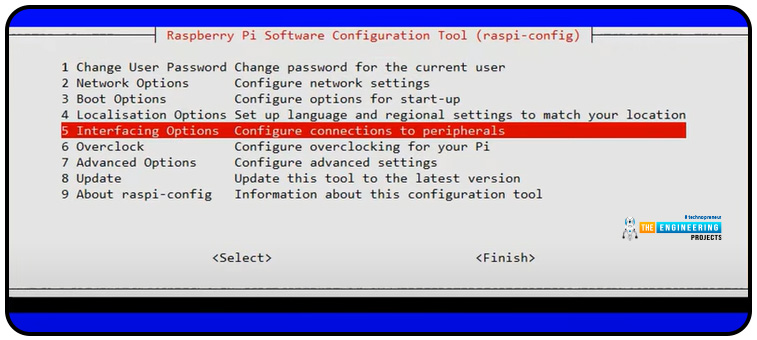
Click on on the primary menu button, choose Preferences, after which click on Pi Configuration if you happen to’re utilizing a monitor. Allow the digicam by clicking on the Interfaces tab.
To proceed, headless customers should kind the command under. Ensure the digicam is turned on in Interfacing Choices. Rebooting the Raspberry Pi will likely be required.

Particular person stills are used to create time-lapse movies. We’ll be utilizing raspistill to accumulate our time-lapse photos. As a part of the Raspberry Pi OS, you don’t want to put in something further. The are two method to file a time lapse:
- Utilizing the raspistill instrument on the Rpi alone
- Utilizing phototimer
Utilizing the Raspistill instrument solely
Raspistill is a Linux-based software program library that goals to make it simpler for Linux customers to make use of refined digicam techniques. We will use open-source packages operating on ARM processors to manage the digicam system with the Raspberry Pi. Virtually all the Broadcom GPU’s proprietary code is bypassed, which clients don’t have any entry to.
It offers a C++ API to apps and operates on the base of configuring a digicam and enabling this system to acquire picture frames. Picture buffers are saved in reminiscence house and might be equipped to both video encoders (like H.264) or nonetheless picture encoding algorithms like JPEG or PNG. raspistill, however, doesn’t carry out any picture encoding or show operations straight.
How can we use this instrument?
An illustration of easy methods to take time-lapse pictures is proven within the following picture.

On this case, the time-lapse seize was 10 seconds lengthy. The Raspberry will look forward to a complete of 2000 milliseconds between every picture. For 10 seconds, the Raspberry Pi will take an image each two seconds.
The pictures will likely be saved as .jpg recordsdata. This instance makes use of the title “Pic” and a quantity that will increase with every body to determine every picture. The ultimate digit of p.c 04d is a zero. Pic0000.jpg and Pic0001.jpg could be the names of the primary two images, and so forth. Change this worth in keeping with the necessities of your venture.
How can we compile the to a video?
Your time-lapse video must be put collectively as soon as your whole images have been taken. FFmpeg is the instrument we’ll be using to generate our timelapse video. The command to obtain the package deal is as follows:

Enable the set up to be full earlier than transferring on. Utilizing this command, you possibly can create a completed video:

Picpercent04d.jpg corresponds to the picture filename you specified within the previous part. If in case you have beforehand modified this title, please accomplish that right here. With the -r possibility, you possibly can specify what number of frames per second you wish to file. When making a time-lapse video, change the phrase video-file together with your title. Ensure to maintain the .mp4 file extension.

A high-speed audio and video conversion instrument that may additionally seize from a webcast supply is included. On the fly, video resizing and sampling may also be performed with high-grade polyphase filters.
A plain output URL specifies an indefinite variety of outputs that FFmpeg can learn from (normal recordsdata, piped streams, community streams, capturing gadgets, and so on.), whereas the -i possibility specifies the variety of enter recordsdata. An output URL is encountered on the command-line interface that can not be handled as an possibility.
Video/audio/subtitle/attachment/information streams can all be included in a single enter or output URL. The container format might restrict the amount or kind of stream used. The -map possibility can map enter streams to output streams, both robotically or manually.
For choices, enter recordsdata should be referred to by their indices (0-based). It’s not unusual to have an infinite variety of enter recordsdata. Indexes are used to determine streams inside a file. As an illustration, the encoding 2:3 designates the third enter file’s fourth and ultimate stream. As well as, try the chapter on Stream specifiers.
Utilizing Photograph timer
A Python library named phototimer will likely be used to manage the raspistill command-line that comes pre-installed on the Raspbian OS.
- With the usage of this instrument, we’re in a position so as to add invaluable options like:
- Set a timeframe in your day.
- After capturing a photograph, create a date-based folder reminiscent of:

Allow us to set up docker to make use of this instrument
Utilizing docker, you possibly can develop, analyze, and publish apps in a short while. To run phototimer with Python put in, you’ll want to make use of Docker with Raspbian Lite.
- Automated restarts of the time-lapse
A brand new location doesn’t necessitate an SSH login. The lapse of time will likely be restarted.
Obtain the Docker picture, activate the digicam interface, and begin the container as a substitute of executing a git clone on every system.
If you happen to disconnect from the container, docker will preserve observe of the log info and can allow you to reconnect at any time.
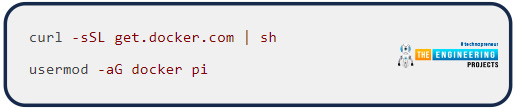
Set up Docker in Raspberry pi
We will simply arrange docker with the next set of instructions.
Clone the phototimer GitHub repository
Obtain the docker file as a zipper as proven under
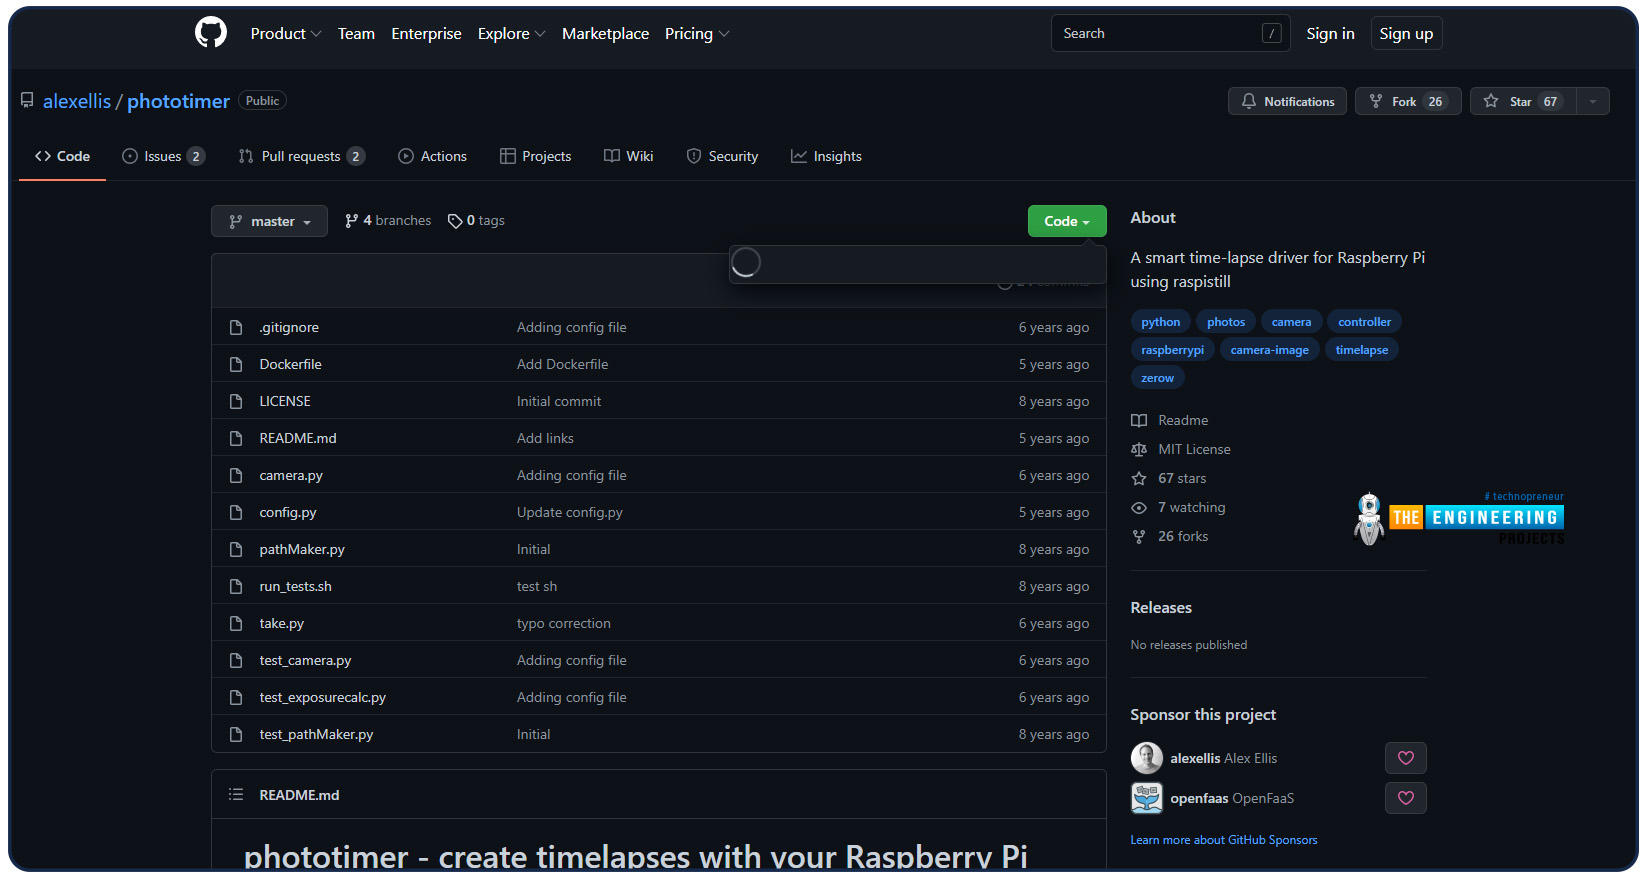
Or use the terminal by copying the phototimer code as proven right here:

If git isn’t already put in, use the next command so as to add it:
Edit the config file
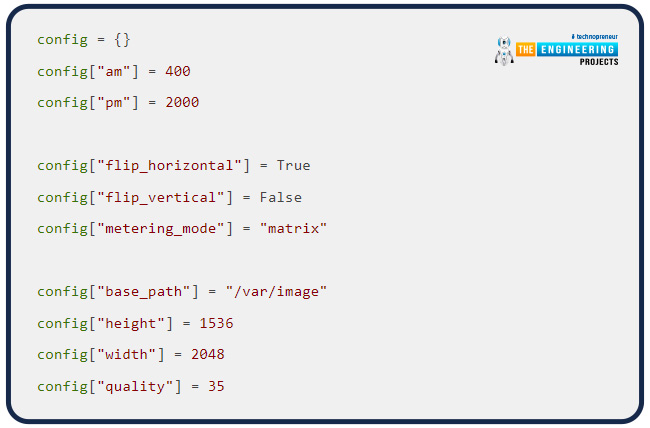
By modifying the config.py file, you possibly can change the time-appearance lapses and length.
You’ll doubtless wish to alter the default time-lapse settings in order that they higher suit your necessities, which begin at 4 am and finish at 8 pm.
For some purpose, total high quality of 35/100 produces a considerably smaller picture than one with a top quality of 60-80/100. You possibly can modify the file to find out how a lot house you’ll want.
Relying on how your digicam is positioned, the picture might have to be flipped horizontally or vertically. True or False in every scenario could have the identical end result.
To realize a selected facet ratio, you possibly can change the peak or width of the picture on this means. The default setting is what I exploit.
The Docker container should be re-built and restarted each time you alter your setup.
Now let`s construct a Docker container
When docker does a construct, it can assemble a picture from the present listing’s code and a base picture, like Debian.

Essentially the most essential half is that the picture we create proper now incorporates every part our software may need.
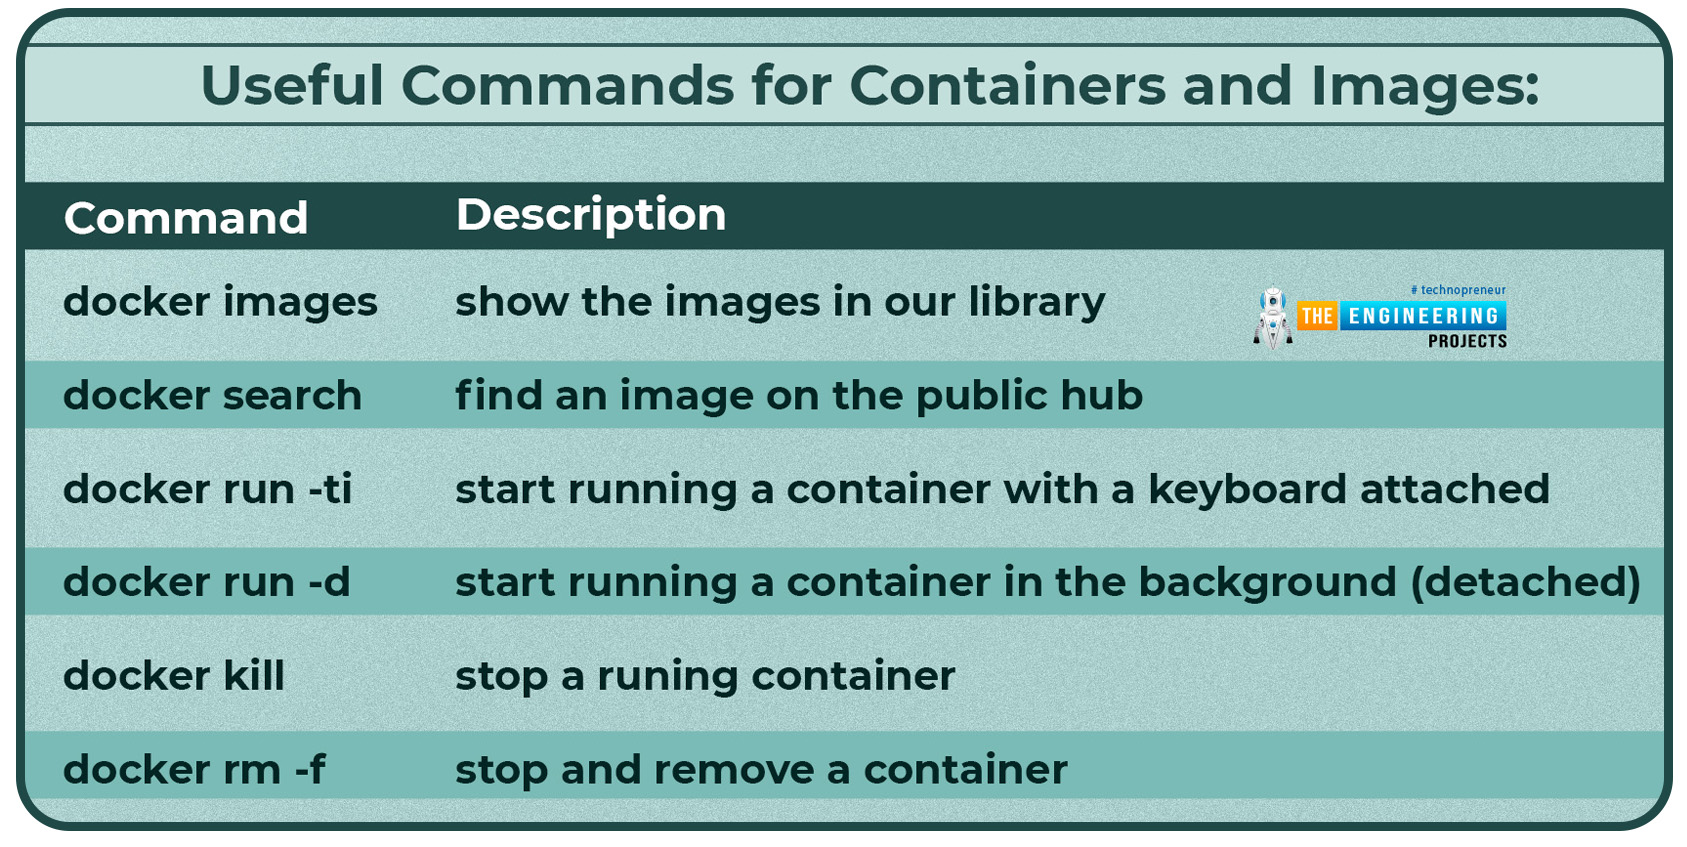
For these simply getting began, these are some useful keyboard shortcuts and CLI instructions:
Begin the timelapse

Allow us to configure the time zone for docker
The default time zone for the Docker container is UTC. If you happen to’re in a distinct time zone, you’ll wish to regulate your daylight financial savings time accordingly.
Docker might be configured to run in your present native time by including the next further choice to the command:
Consequently, the next is what a time-lapse in Texas, United States, may appear to be:

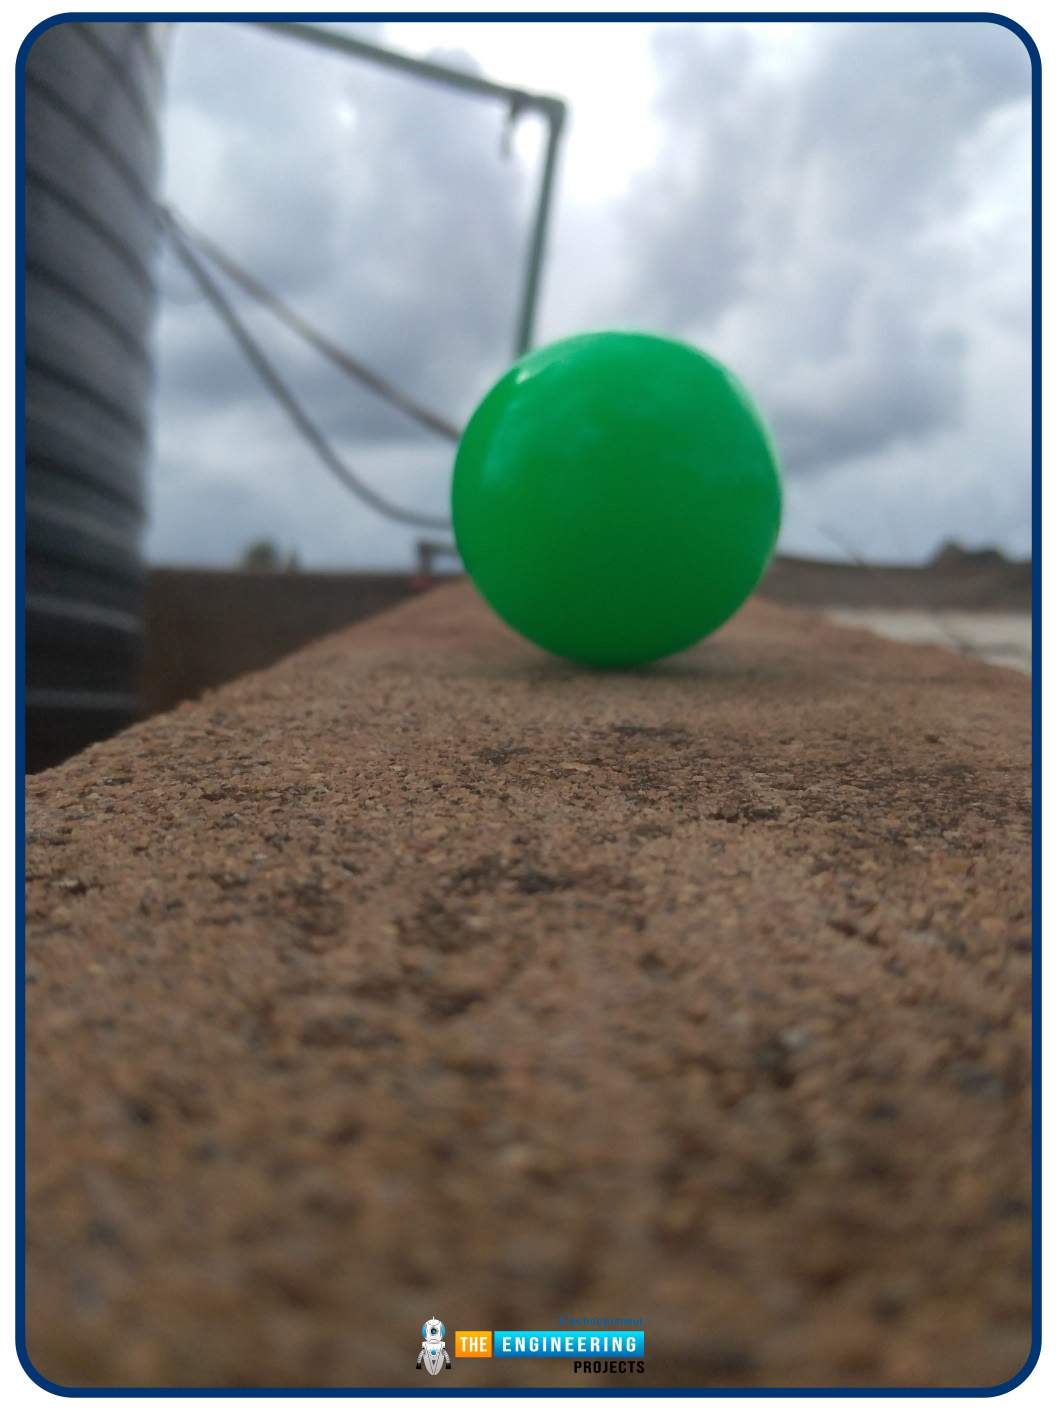
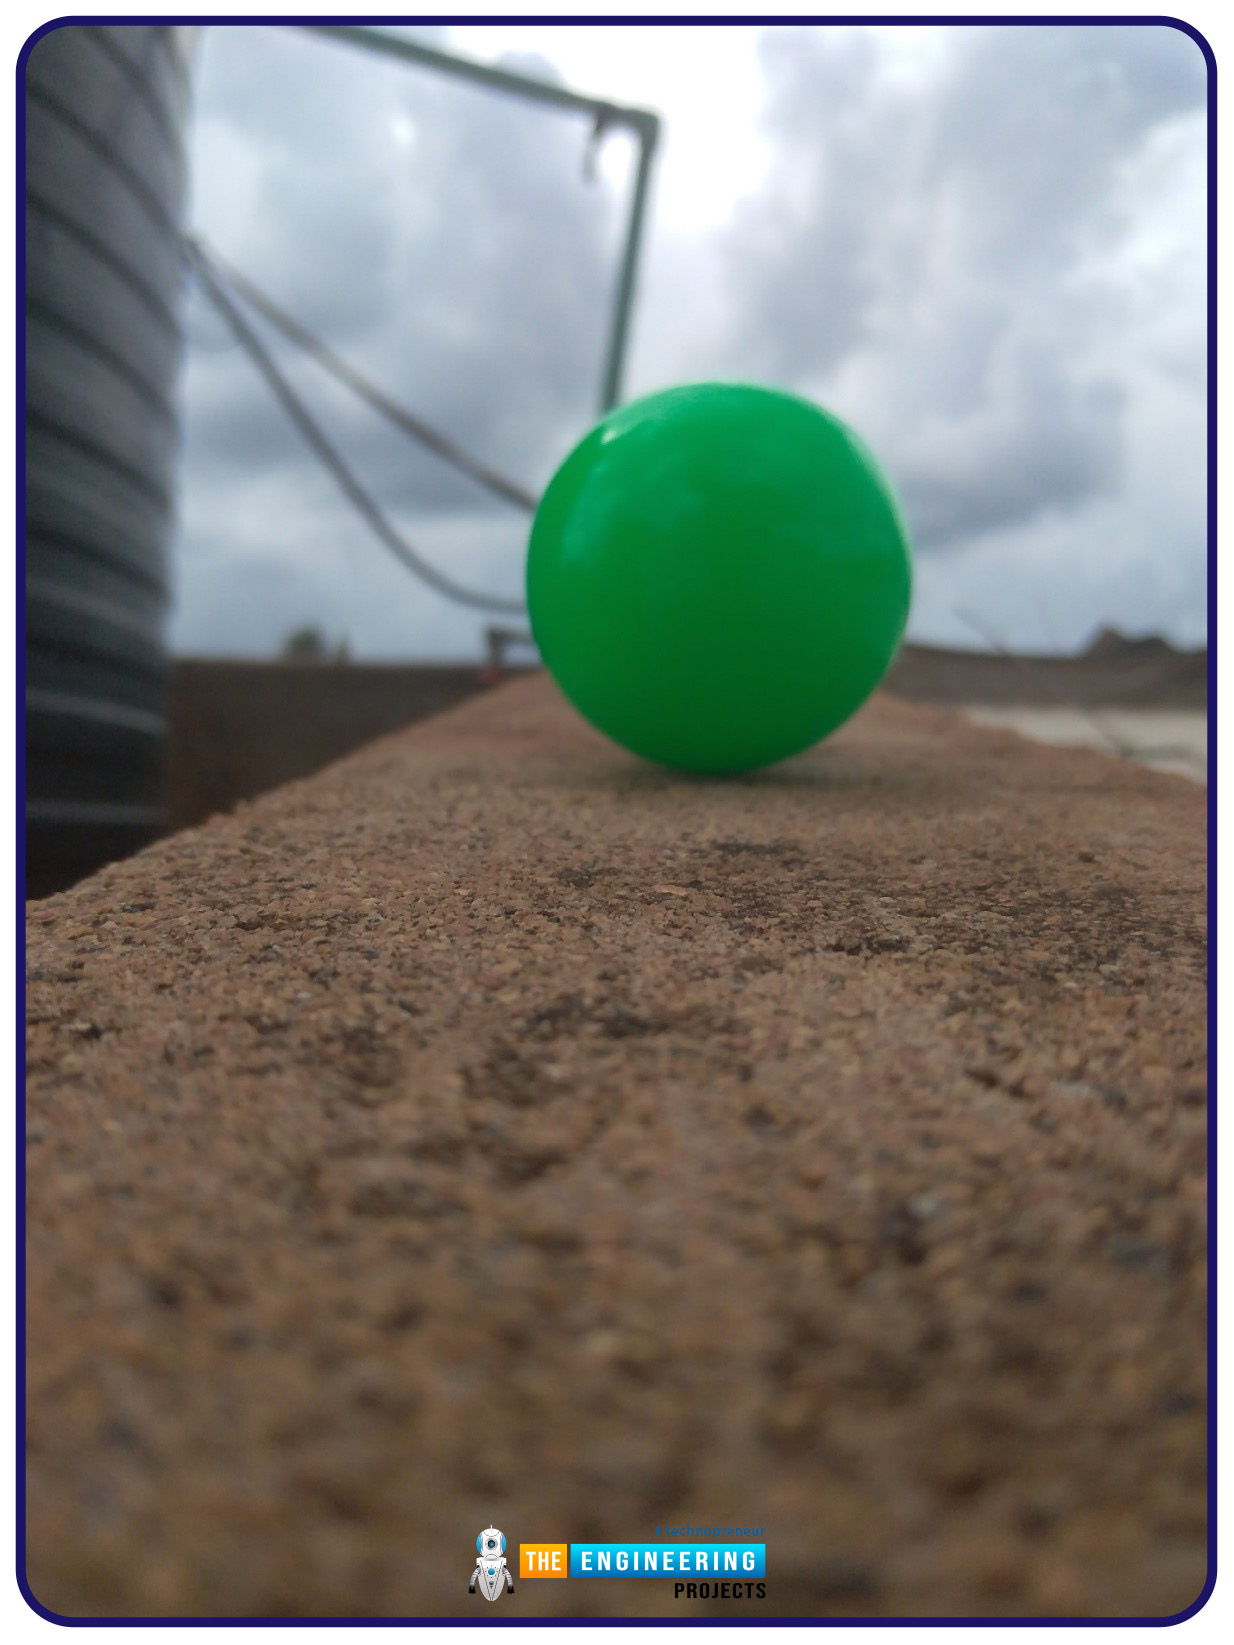
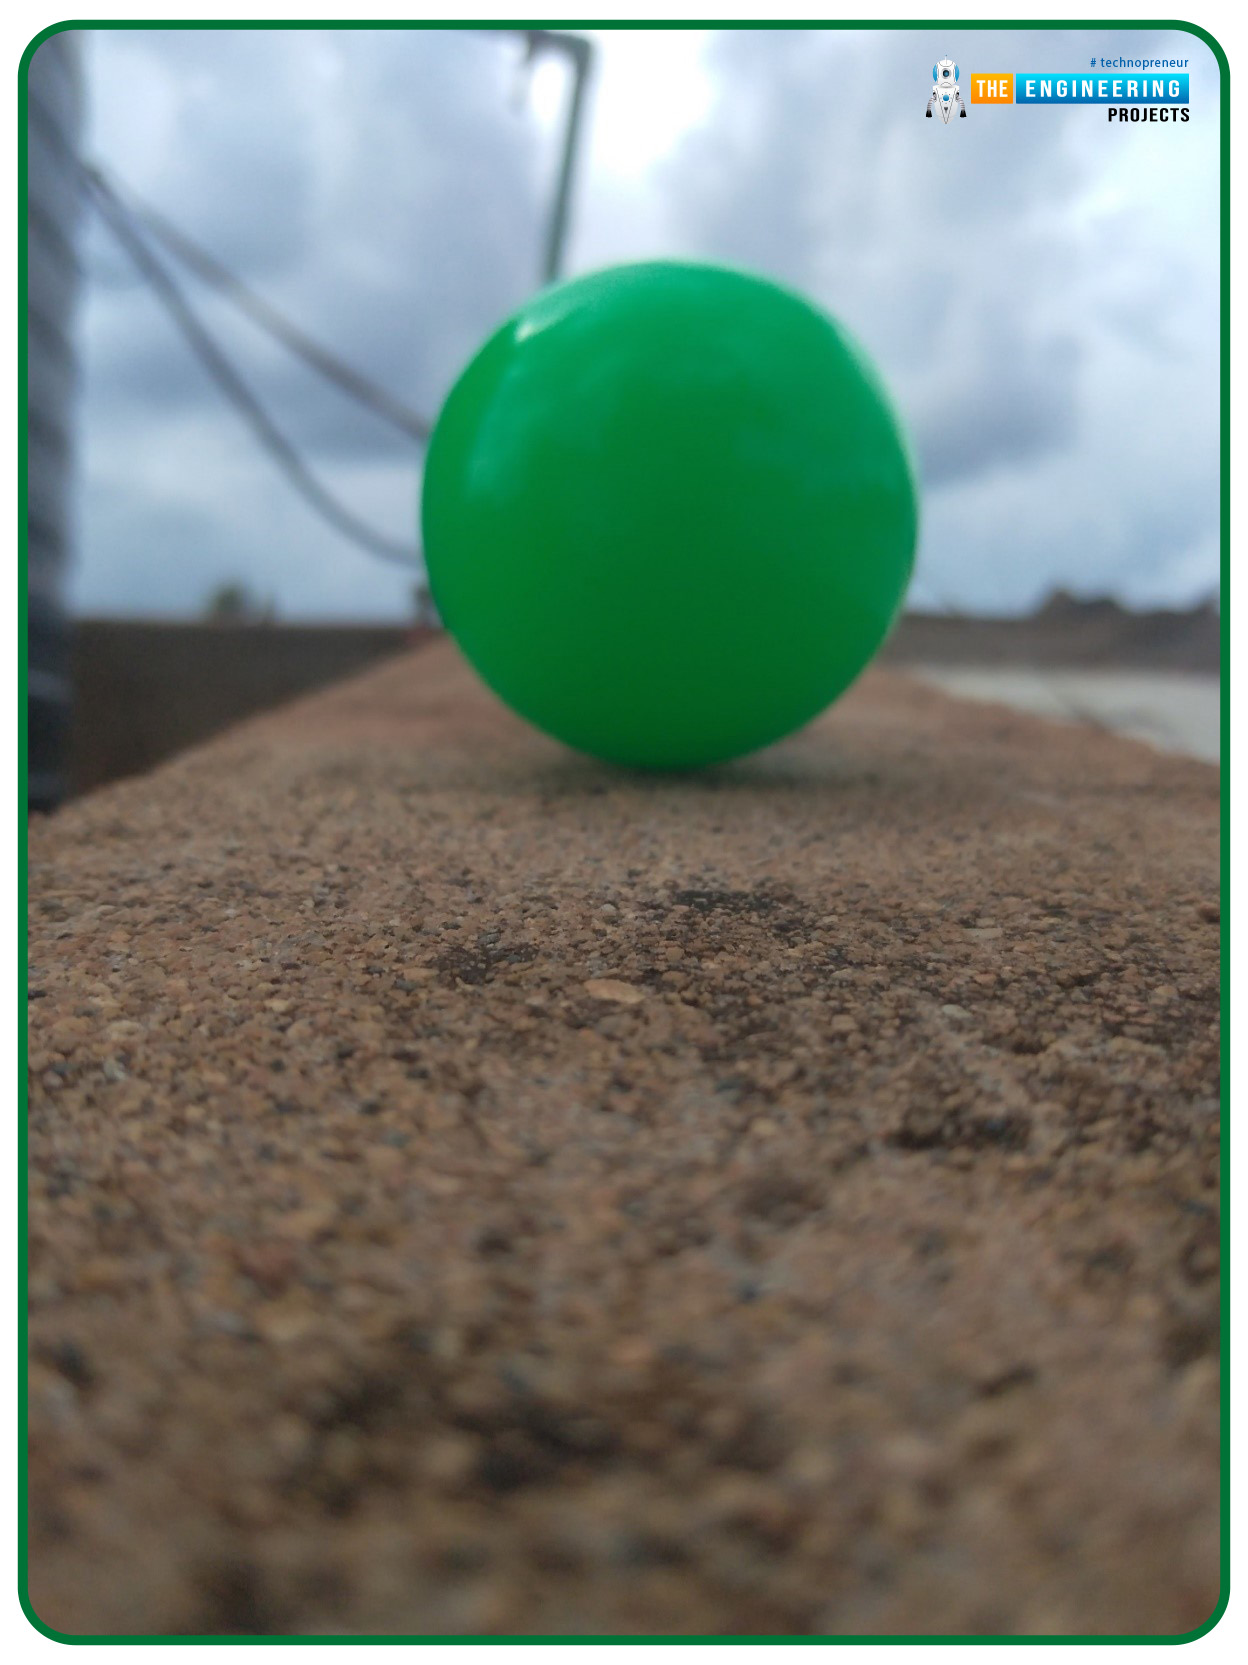
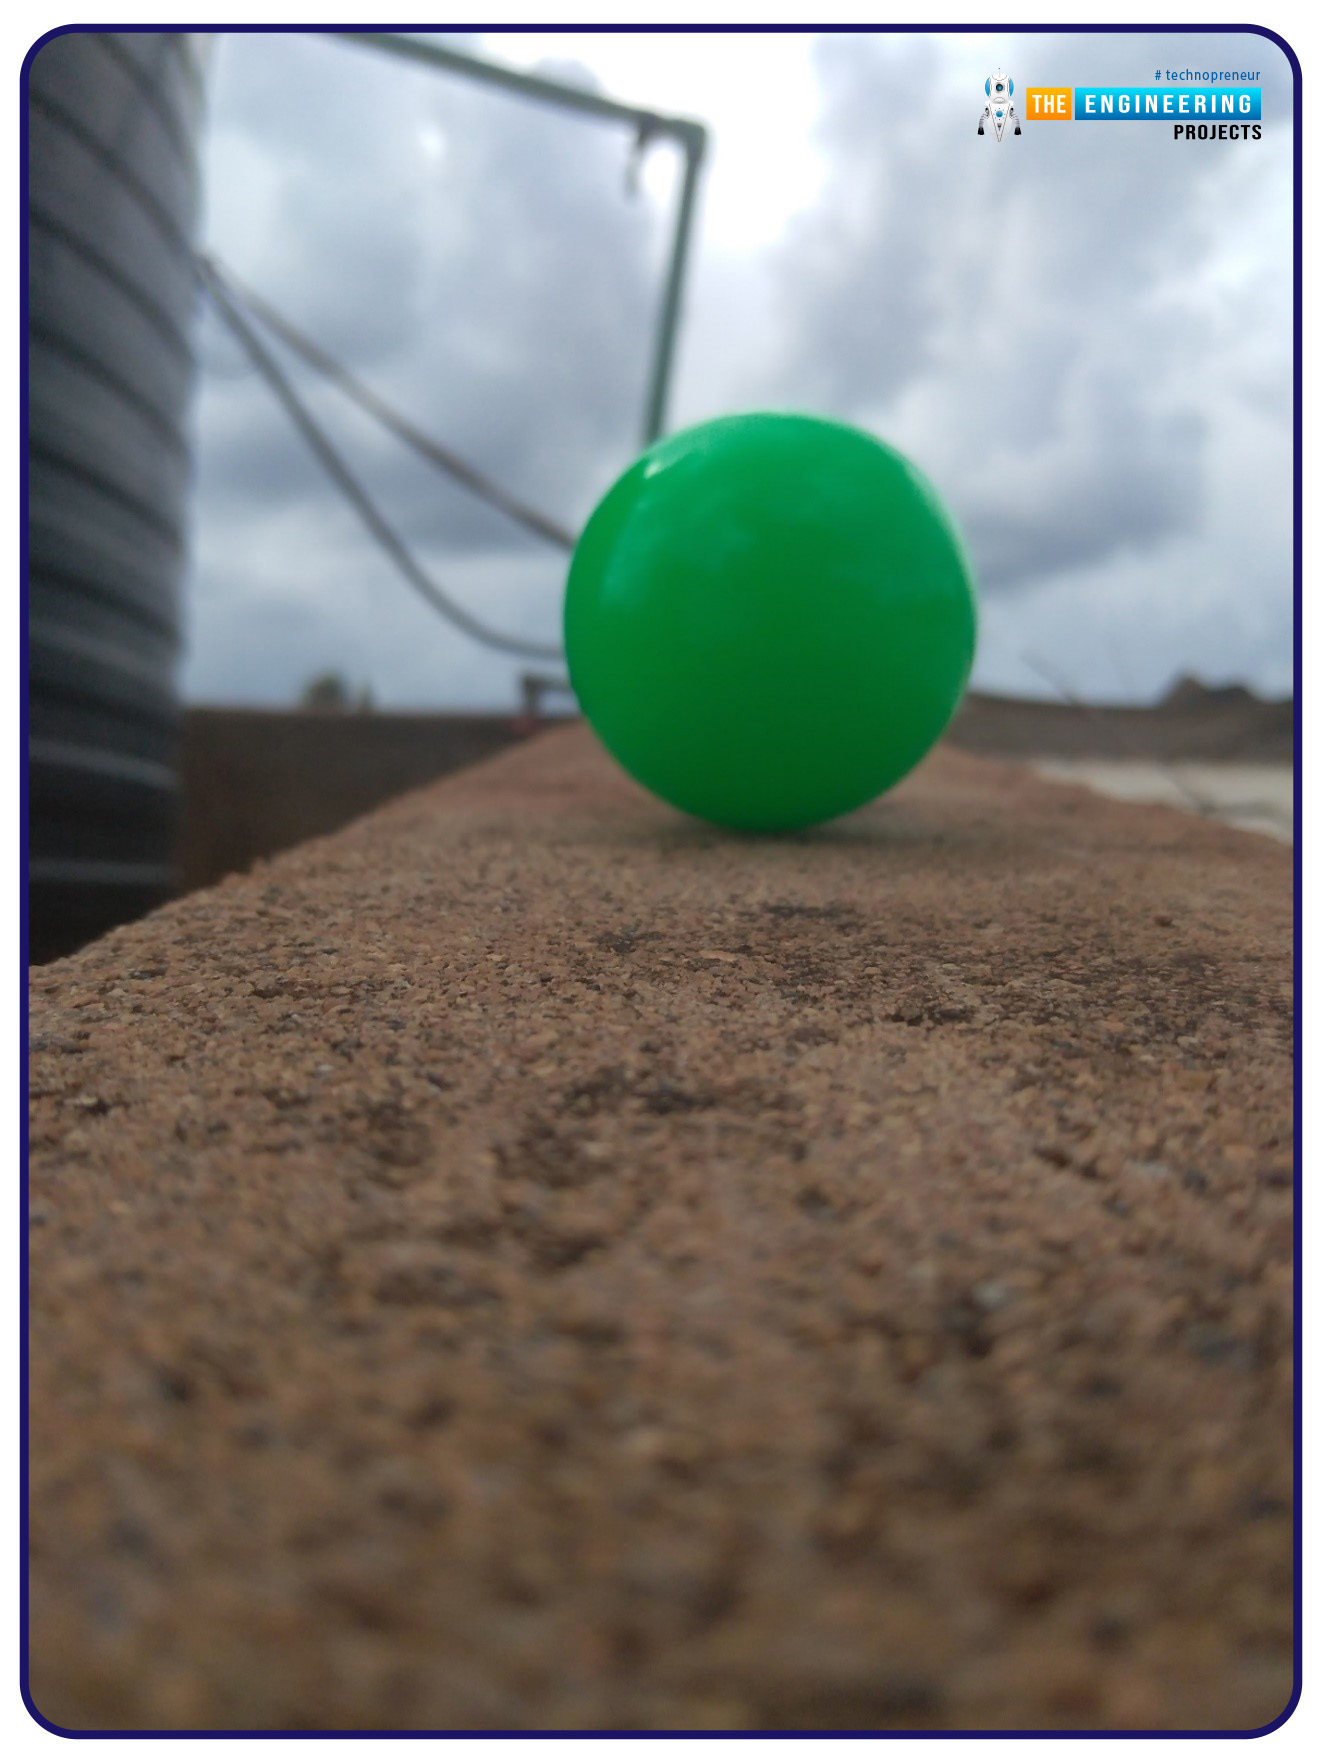
Under are some time-lapse photos taken from the raspberry pi digicam.

How can we save the file to our laptop computer?
To save lots of your pictures to your laptop computer, comply with these steps when you’ve captured a number of photos:

The ssh and SCP capabilities are included in Git for Home windows, which can be put in on Home windows.
Connectivity choices
You’ll want a means to hook up with your new rig if you’re not close to your wi-fi router if you happen to plan on doing the identical factor I did. There are a number of concepts to get you began:
Use a USB OTG cable
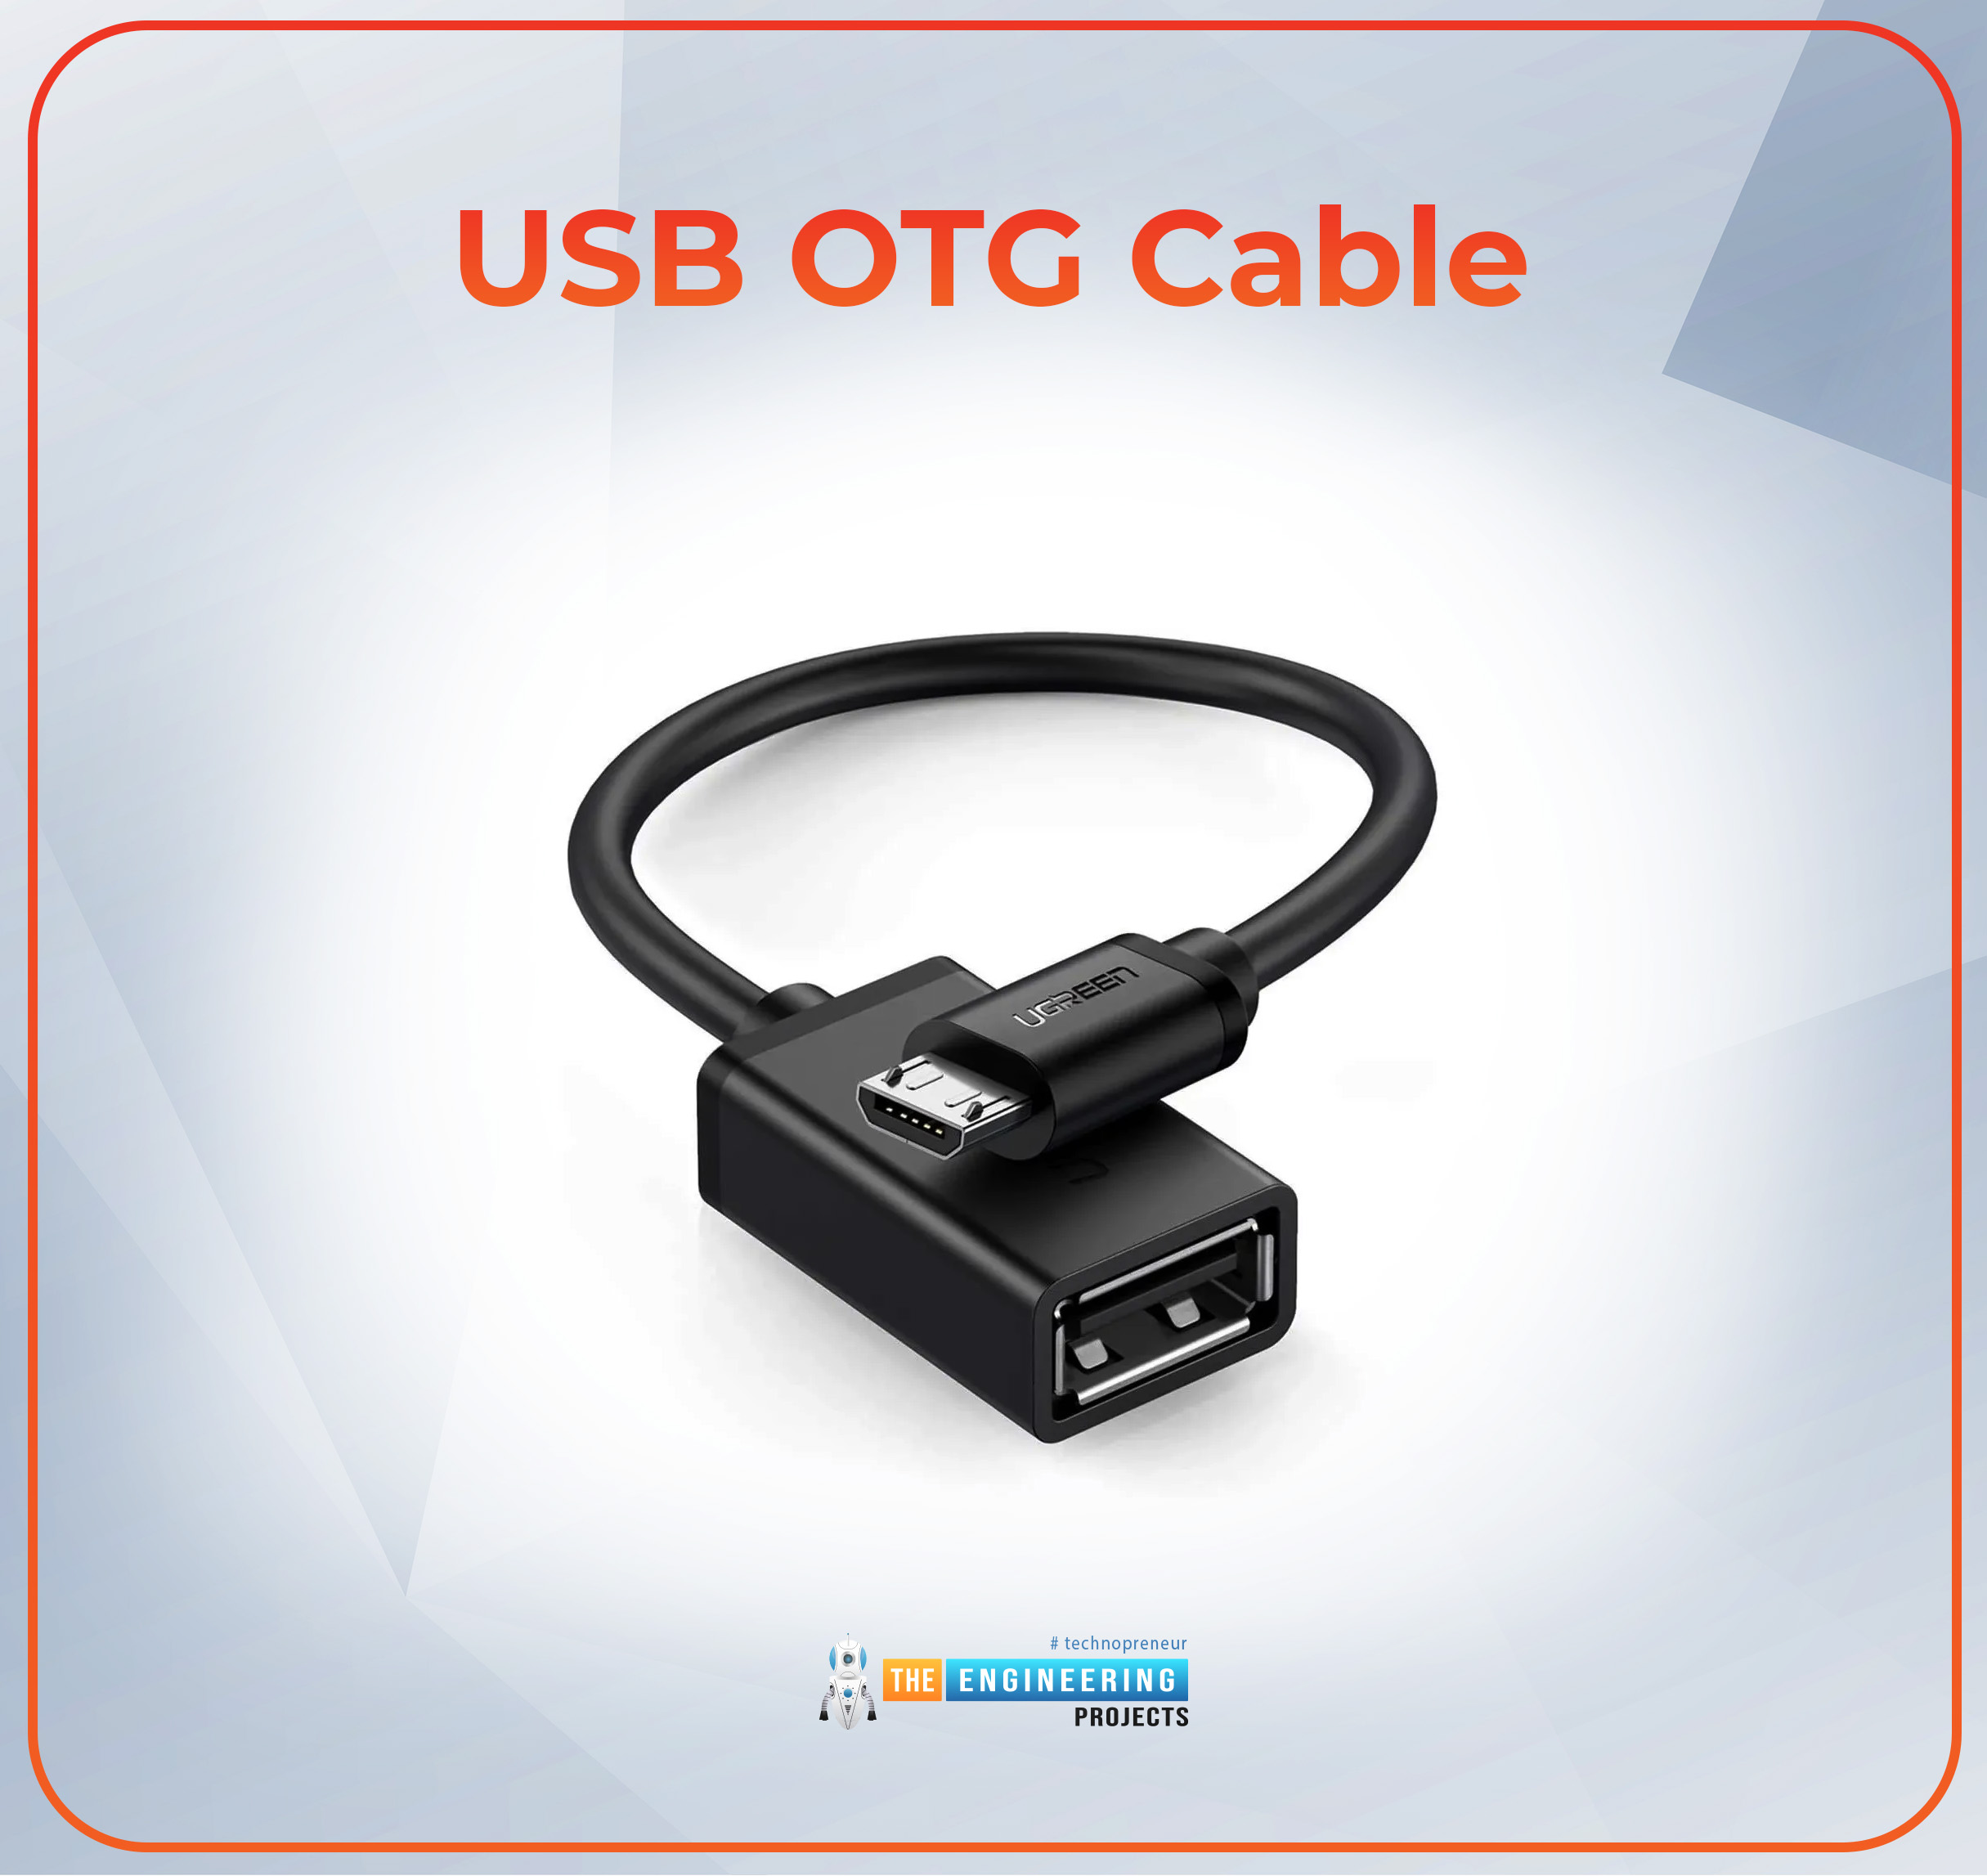
All Pi fashions permit networking through USB, and it is extremely easy to determine and won’t intervene with the wi-fi community. You’ll have to carry a USB twine to every new web site to straight change the Wi-fi SSID/password on the pi.
Drop a wpa_supplicant.conf file into /boot
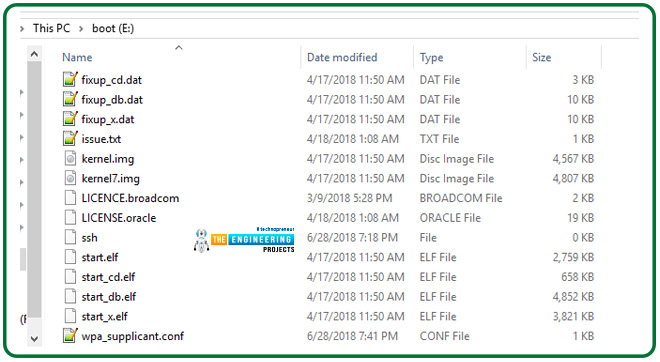
Plugging an SD card into your laptop whereas on the street permits you to replace your wi-fi configuration file simply, supplied there’s an SD card adapter close by. The present configuration will likely be changed with this new one on the following reboot.
Setup the RPi as a wi-fi hotspot
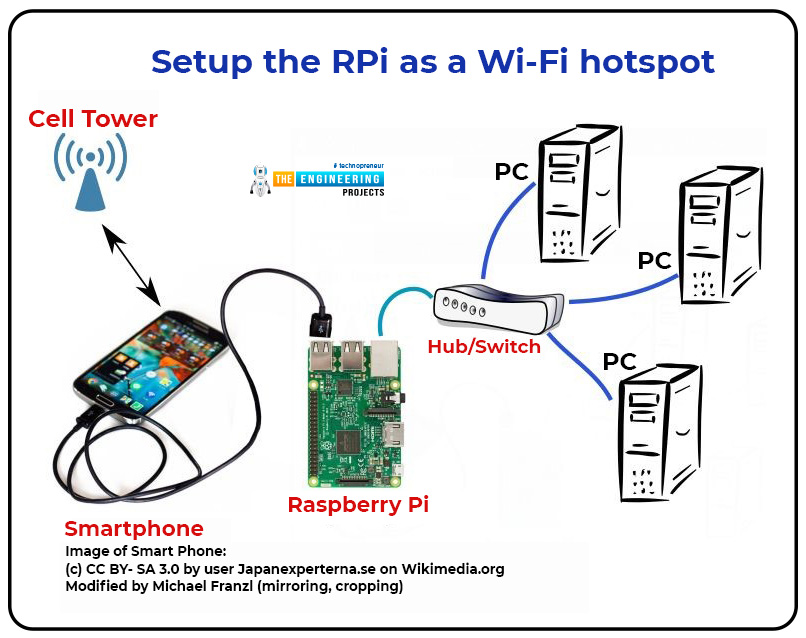
If you happen to’re snug with Linux, you should utilize hostapd to create your hotspot on the RPi. To connect with your Raspberry Pi, you’ll want a pc with an Ethernet cable and an internet browser.
Set up your wi-fi Username and password and use that to begin/cease timelapse seize and obtain recordsdata if you happen to gained’t be utilizing the rig exterior your location.
Methods to edit the video
The imported recordsdata must be within the appropriate order if you happen to drag them onto the timeline after they’ve been imported, so make sure to do this. The crop issue must be set to “fill.” As an alternative of 4.0 seconds, use 0.1 seconds for the showtime each body.
Switch recordsdata to the Raspberry Pi utilizing SCP
It’s typically essential to switch paperwork between the Linux laptop computer to an industrial Raspberry Pi for testing functions.
Sometimes, you’ll must switch recordsdata or folders between your business Raspberry to your laptop.
There isn’t any longer a necessity so that you can fear about transmitting recordsdata through e mail, pen drive, or some other technique that takes up time. Automation and business management can assist you automate the method on this put up.
Because the title suggests, SCP refers to safe copy. This command-line software permits you to securely switch recordsdata and folders between two distant locations, reminiscent of between your native laptop and one other laptop or between your laptop and one other laptop.
You might even see SCP data through the use of the command under:

Utilizing SCP, you possibly can switch recordsdata to the RPi within the quickest doable method. There’s a studying curve related to this technique for novice customers, however you’ll be glad you probably did when you get the cling of it.
Allow SSH
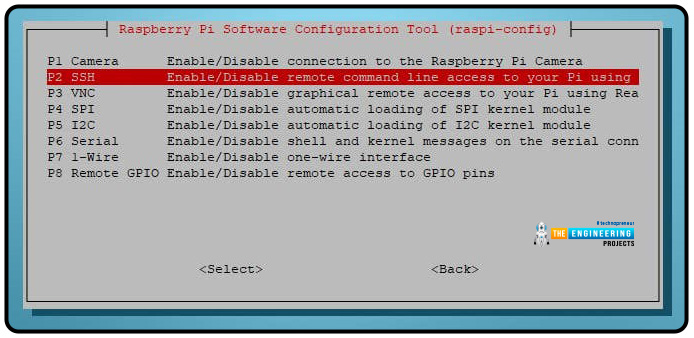
You will need to activate ssh in your Raspberry Pi to make use of SCP.
Changing to GIF

A free program like Giphy can assist you exchange the movies to a GIF; nevertheless, this may decrease the variety of frames.
Conclusion
We realized easy methods to use the Raspberry Pi to create a time-lapse animation on this lesson. As well as, we regarded into the pi digicam raspistill interface and used FFmpeg and phototimer to create a time-lapse. We additionally learnt easy methods to interface our raspberry pi with our computer utilizing ssh and switch recordsdata between the 2 computer systems. The next tutorial will educate easy methods to design and code a GPIO soundboard utilizing raspberry pi 4.
[ad_2]


0 Comments