

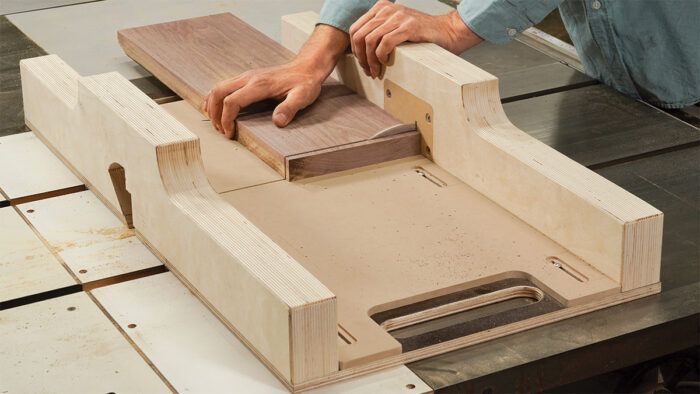
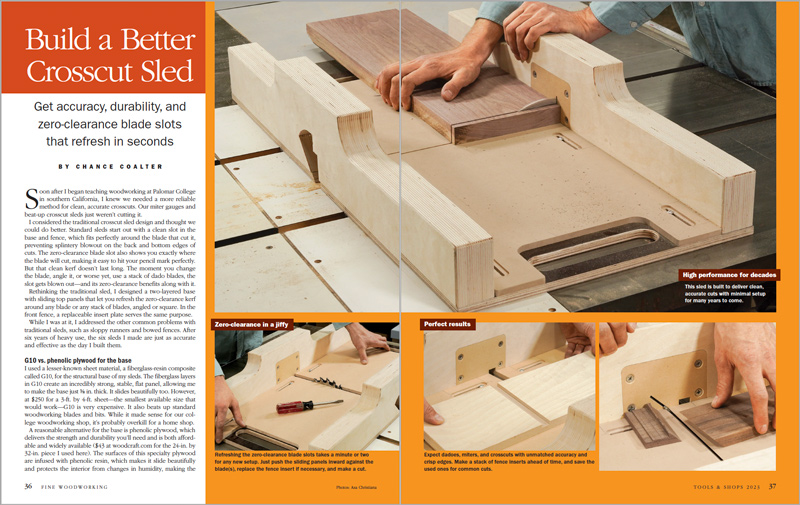
Synopsis: This design is aimed toward bettering the standard crosscut sled with a two-layered base and sliding panels that allow you to refresh the zero-clearance kerf round any blade or stack of blades, angled or sq.. A replaceable insert plate within the entrance fence serves the identical goal.
Quickly after I started instructing woodworking at Palomar Faculty in southern California, I knew we would have liked a extra dependable methodology for clear, correct crosscuts. Our miter gauges and beat-up crosscut sleds simply weren’t reducing it.
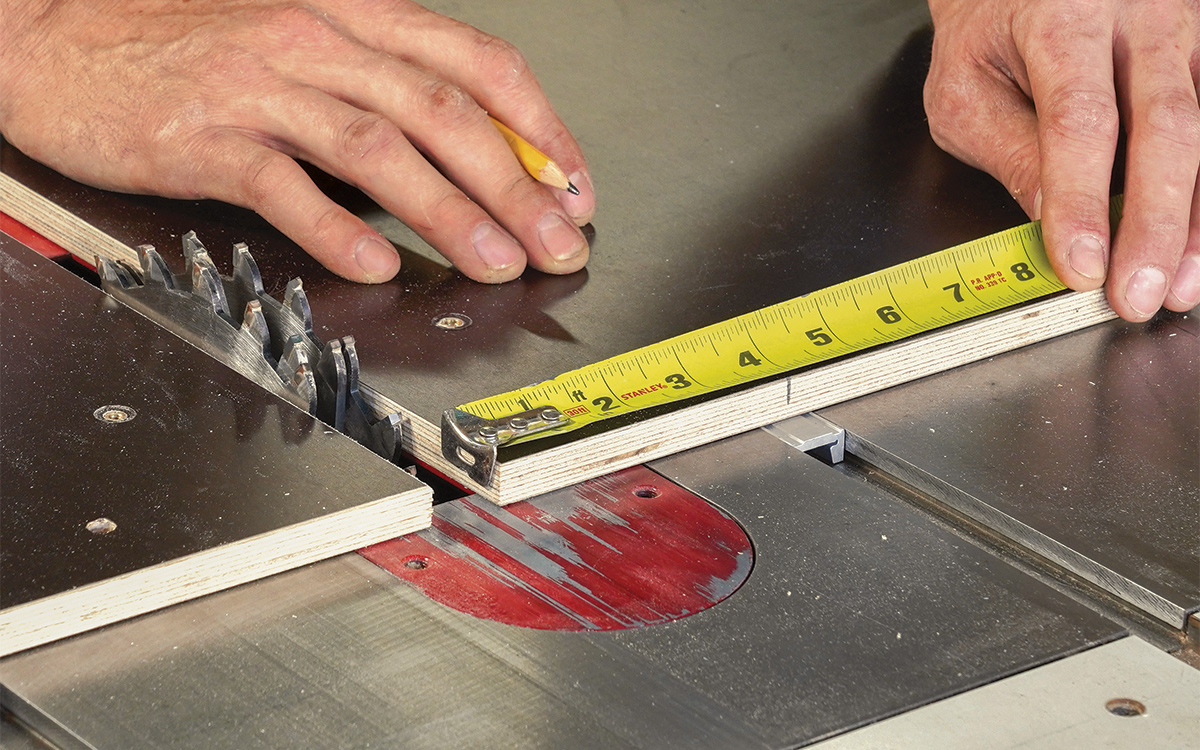
I thought of the standard crosscut sled design and thought we may do higher. Customary sleds begin out with a clear slot within the base and fence, which inserts completely across the blade that minimize it, stopping splintery blowout on the again and backside edges of cuts. The zero-clearance blade slot additionally exhibits you precisely the place the blade will minimize, making it simple to hit your pencil mark completely. However that clear kerf doesn’t final lengthy. The second you modify the blade, angle it, or worse but, use a stack of dado blades, the slot will get blown out—and its zero-clearance advantages together with it.
Rethinking the standard sled, I designed a two-layered base with sliding prime panels that allow you to refresh the zero-clearance kerf round any blade or any stack of blades, angled or sq.. Within the entrance fence, a replaceable insert plate serves the identical goal.
Whereas I used to be at it, I addressed the opposite frequent issues with conventional sleds, comparable to sloppy runners and bowed fences. After six years of heavy use, the six sleds I made are simply as correct and efficient because the day I constructed them.
|
|


G10 vs. phenolic plywood for the bottom
I used a lesser-known sheet materials, a fiberglass-resin composite referred to as G10, for the structural base of my sleds. The fiberglass layers in G10 create an extremely robust, steady, flat panel, permitting me to make the bottom simply 3/8 in. thick. It slides fantastically too. Nonetheless, at $250 for a 3-ft. by 4-ft. sheet—the smallest accessible measurement that may work—G10 may be very costly. It additionally beats up customary woodworking blades and bits. Whereas it made sense for our school woodworking store, it’s in all probability overkill for a house store.
An affordable various for the bottom is phenolic plywood, which delivers the energy and sturdiness you’ll want and is each inexpensive and extensively accessible ($43 at woodcraft.com for the 24-in. by 32-in. piece I used right here). The surfaces of this specialty plywood are infused with phenolic resin, which makes it slide fantastically and protects the inside from adjustments in humidity, making the panel extra steady than customary plywood of the identical thickness. It’s not G10 although, so I bumped up the thickness of the bottom to 1/2 in. Add the sliding 3/8-in.-thick MDF panels on prime, and you continue to aren’t stealing an excessive amount of from the peak capability of your noticed.
A fast tour of your subsequent sled
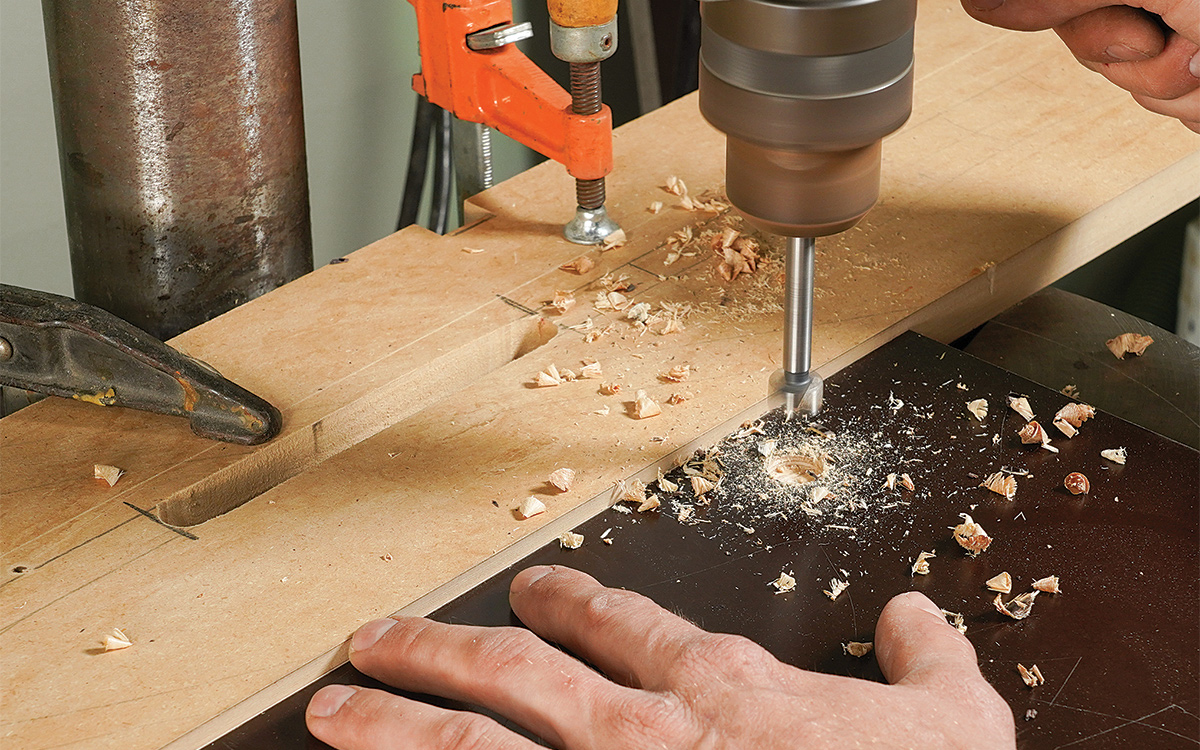
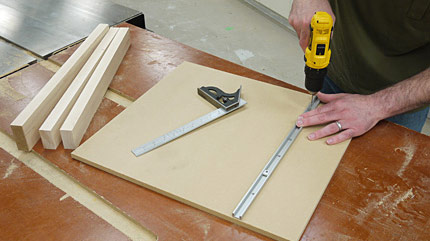
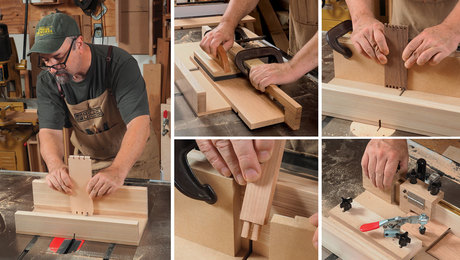
The design begins with the two-layered base. The sliding MDF panels are held down with screws that cross into threaded inserts within the base, making certain a sturdy maintain. Down the highway, after you’ve repositioned the sacrificial panels plenty of instances, and made them too slender, it’s fast and simple to remake them, and the fastened, structural base of the sled by no means adjustments.
To permit the blade slot within the entrance fence to be renewed simply as simply, there’s a 3/8-in. MDF plate set into it. This fence insert is connected with screws and threaded inserts. Actually, at each attachment level, from the fences to the insert to the sliding panels, I used machine screws and threaded inserts. Customary wooden screws strip when tightened and retightened; threaded inserts will give a lifetime of service.
Probability Coalter teaches woodworking at Palomar Faculty in San Marcos, Calif., and builds furnishings on fee.
Images: Asa Christiana
From Positive Woodworking #300
To view all the article, please click on the View PDF button beneath.
 | Make a easy, sturdy crosscut sled |
 | Construct a super-precise tablesaw crosscut sled |
 | Tablesaw sleds for joinery |
Obtain FREE PDF
.jpg)


0 Comments